How to Install Cockpit on Ubuntu 23.10
The Cockpit is a web-based system administration service used to manage server services, and server storage, configure networks, inspect logs, update server OS packages, and much more. Thanks to its web-based management, keeping track of what’s going on with your server is easier than ever. The cockpit also makes it easier for users who don’t have much experience with servers to better manage their systems without having to learn to use the command line.
Install Cockpit
Installing Cockpit is super easy on Ubuntu as it is included in the default repositories, use the following command to install Cockpit,
apt update
apt install cockpit
Now, let's start the cockpit service,
systemctl start cockpitand then check its status,
systemctl status cockpitOutput:
root@server:~# systemctl status cockpit
● cockpit.service - Cockpit Web Service
     Loaded: loaded (/lib/systemd/system/cockpit.service; static)
     Active: active (running) since Wed 2023-10-18 21:15:48 UTC; 3s ago
TriggeredBy: ● cockpit.socket
       Docs: man:cockpit-ws(8)
    Process: 3009 ExecStartPre=/usr/lib/cockpit/cockpit-certificate-ensure --for-cockpit-tls (code=exited, status=0/SUCCESS)
   Main PID: 3022 (cockpit-tls)
      Tasks: 1 (limit: 4563)
     Memory: 1.7M
        CPU: 1.079s
     CGroup: /system.slice/cockpit.service
             └─3022 /usr/lib/cockpit/cockpit-tls
Access Cockpit
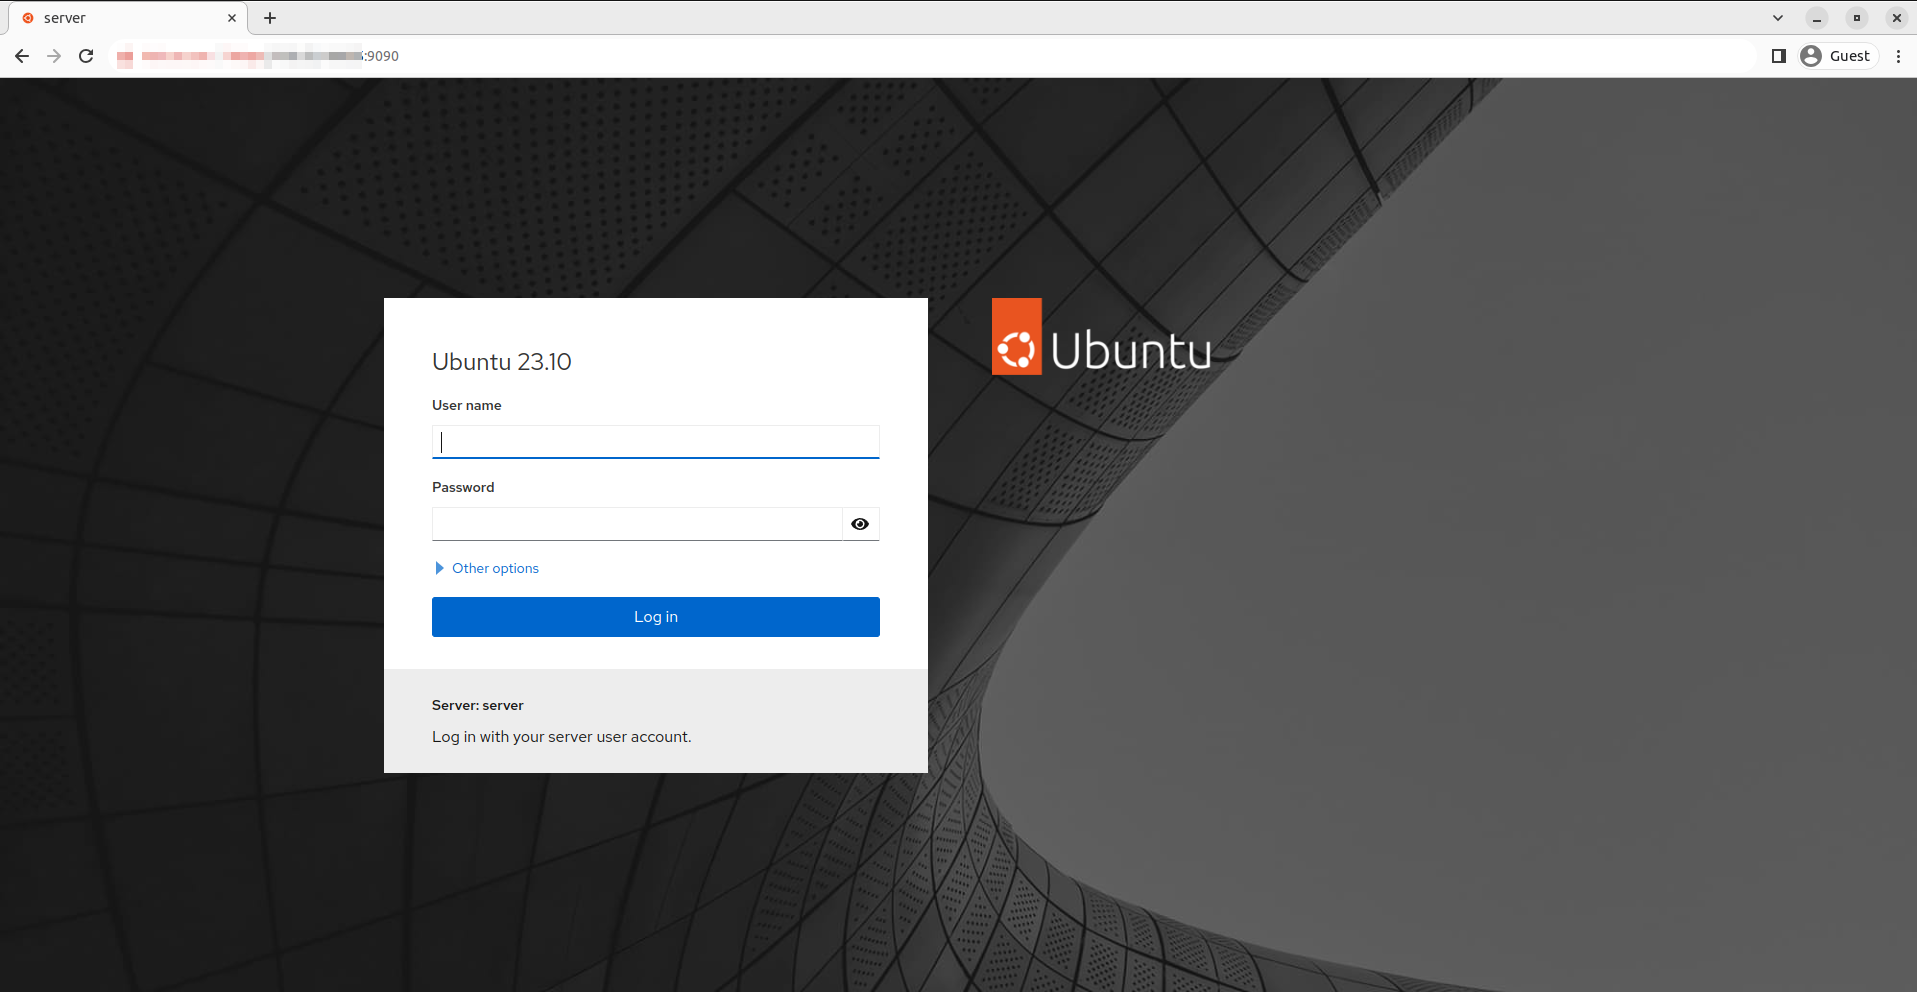
Now access your Ubuntu system via the Cockpit web interface via the address http://IP_ADDRESS:9090.
Note: Replace
IP_ADDRESSwith the actual IP Address of your Server
You'll be prompted to log in with your system username and password,
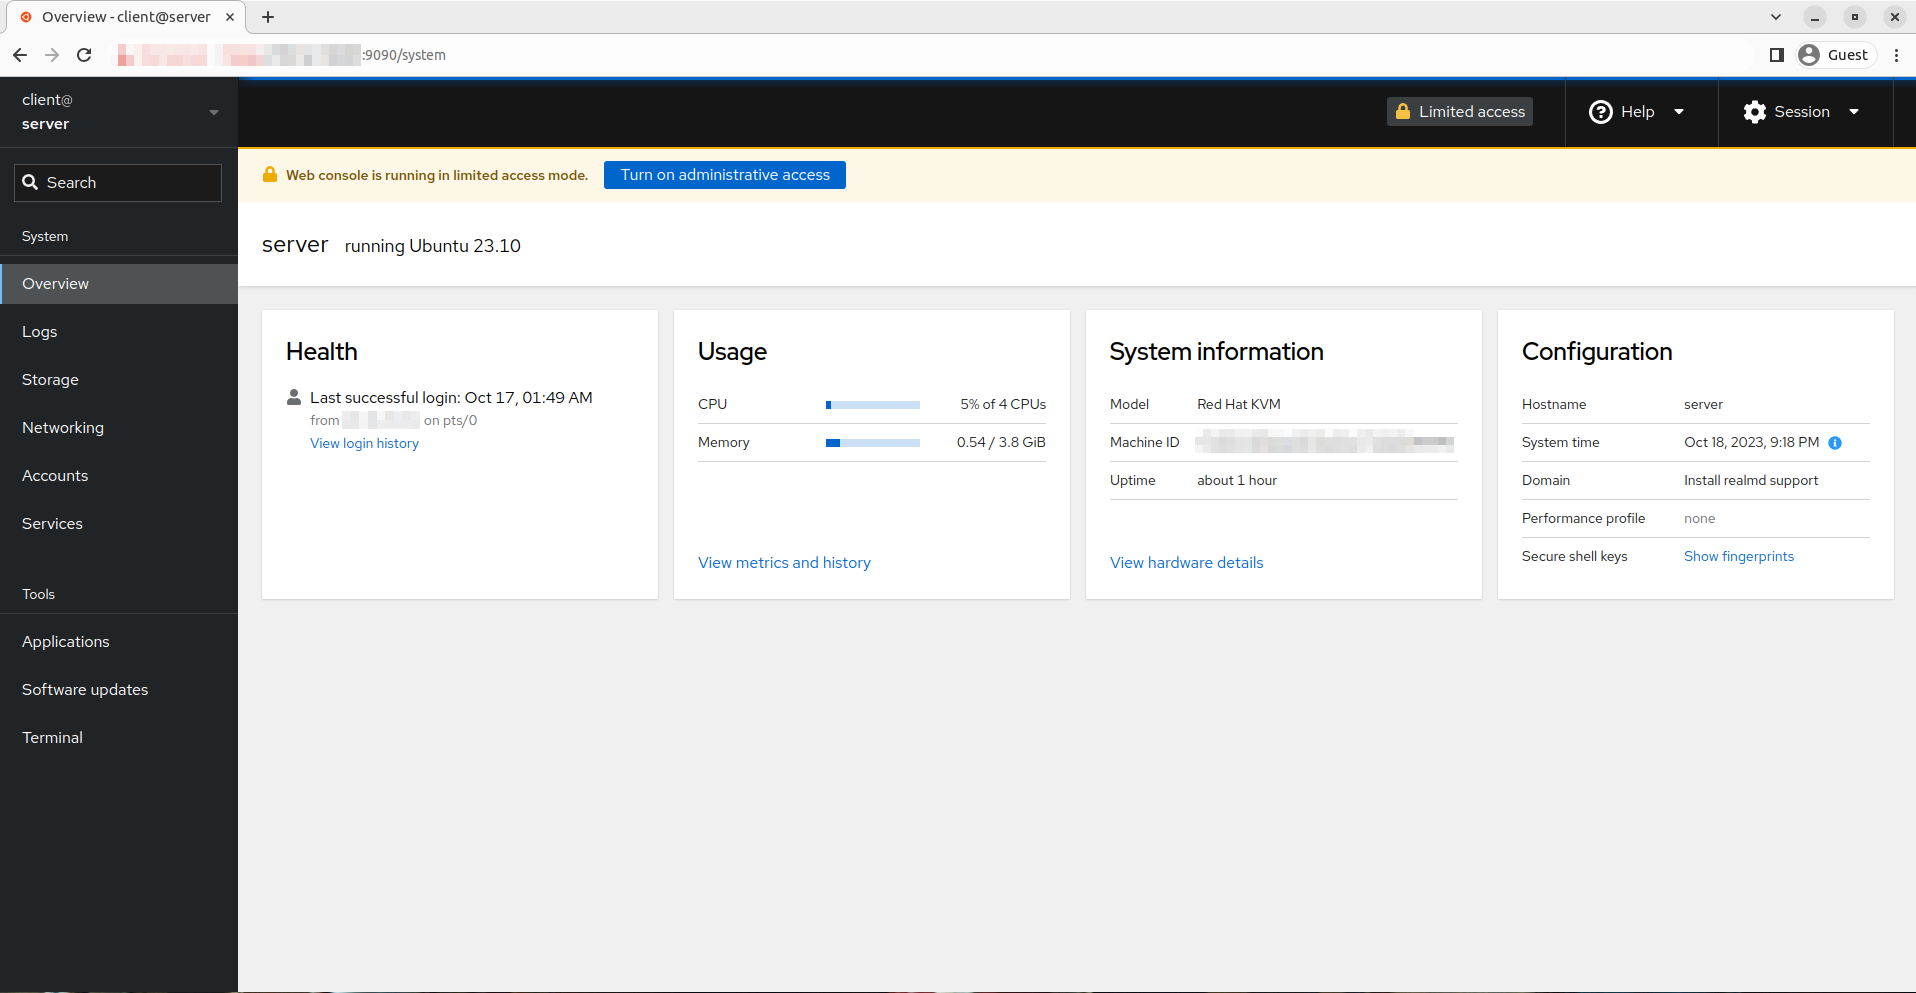
You can now use the Cockpit web interface to manage and monitor your Ubuntu server.
 Done.
Done.