How to Install Nextcloud on Debian 11
Nextcloud is an open source software that enables secure storage, collaboration, and sharing. Nextcloud runs on your own server, protecting your data and giving you access from your desktop or mobile devices. You can synchronize everything between your devices and share files with others as well.
Install the Required Packages
Nextcloud is a PHP web application. It requires PHP, a web server (Apache), and a database (MariaDB).
apt install apache2 libapache2-mod-php mariadb-server php-xml php-cli php-cgi php-mysql php-mbstring php-gd php-curl php-zipOutput:
root@server:~# apt install apache2 libapache2-mod-php mariadb-server php-xml php-cli php-cgi php-mysql php-mbstring php-gd php-curl php-zip
Reading package lists... Done
Building dependency tree... Done
Reading state information... Done
mariadb-server is already the newest version (1:10.5.11-1).
php-cli is already the newest version (2:7.4+76).
php-curl is already the newest version (2:7.4+76).
php-gd is already the newest version (2:7.4+76).
php-mbstring is already the newest version (2:7.4+76).
php-mysql is already the newest version (2:7.4+76).
php-xml is already the newest version (2:7.4+76).
php-zip is already the newest version (2:7.4+76).
The following additional packages will be installed:
  apache2-bin apache2-data apache2-utils libapache2-mod-php7.4 libapr1 libaprutil1 libaprutil1-dbd-sqlite3 libaprutil1-ldap liblua5.3-0
  php7.4-cgi
After that's finished, restart Apache and check the status.
systemctl start apache2.service

systemctl enable apache2.service

systemctl status apache2.service
Output:
root@server:/# systemctl status apache2.service
● apache2.service - The Apache HTTP Server
     Loaded: loaded (/lib/systemd/system/apache2.service; enabled; vendor preset: enabled)
     Active: active (running) since Sat 2021-08-14 09:12:39 EDT; 6min ago
       Docs: https://httpd.apache.org/docs/2.4/
    Process: 15833 ExecStart=/usr/sbin/apachectl start (code=exited, status=0/SUCCESS)
   Main PID: 15837 (apache2)
      Tasks: 11 (limit: 4679)
     Memory: 31.3M
        CPU: 794ms
     CGroup: /system.slice/apache2.service
Configuring your Database
Set up a new root password when asked. You can accept the defaults for everything.
mysql_secure_installationSign in to MariaDB using the root password that you just set.
mysql -u root -pCreate a new database to use with Nextcloud.
CREATE DATABASE nextcloud;Set up a new database user to access your Nextcloud database.
CREATE USER 'nextclouduser'@'localhost' IDENTIFIED BY 'password';Please replace 'password' with actual strong password.
Grant the permissions for the nextclouduser to access the database.
GRANT ALL ON nextcloud.* TO 'nextclouduser'@'localhost';Flush the privileges and exit MariaDB.
FLUSH PRIVILEGES;

exit
Download Nextcloud
Download the latest version of Nextcloud from their official site. By clicking on the latest version you will be navigated to the download links, copy the link for the zip file here.
At the time of making this guide, latest version was Nextcloud 22, this might've changed now.
wget https://download.nextcloud.com/server/releases/nextcloud-22.0.0.zipOutput:
root@server:~# wget https://download.nextcloud.com/server/releases/nextcloud-22.0.0.zip
--2021-08-04 18:32:12--  https://download.nextcloud.com/server/releases/nextcloud-22.0.0.zip
Resolving download.nextcloud.com (download.nextcloud.com)... 95.217.64.181, 2a01:4f9:2a:3119::181
Connecting to download.nextcloud.com (download.nextcloud.com)|95.217.64.181|:443... connected.
HTTP request sent, awaiting response... 200 OK
Length: 172627889 (165M) [application/zip]
Saving to: ‘nextcloud-22.0.0.zip.1’

nextcloud-22.0.0.zip.1               100%[====================================================================>] 164.63M  75.6MB/s    in 2.2s

2021-08-04 18:32:14 (75.6 MB/s) - ‘nextcloud-22.0.0.zip.1’ saved [172627889/172627889]
Install Nextcloud
Unzip the Nextcloud zip file where it is.
unzip nextcloud-*.zipCopy the extracted folder into your web root directory.
cp -r /nextcloud /var/www/html/nextcloud Change the ownership of nextcloud to www-data, the same user running Apache.
chown -R www-data:www-data /var/www/html/nextcloudOpen the browser, and navigate to your Nextcloud server: http://Server_IP/nextcloud.
Replace the Server_IP with actual IP address or domain that is pointing to the server.
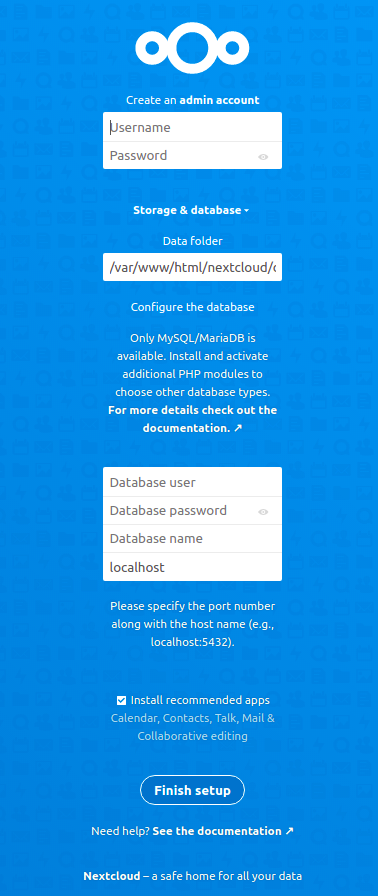
Once you've accessed the Nextcloud panel, you will be prompted to create a new Admin account. Input your username and a strong password to keep your online account secure and safe.
Under the Database section, you will need to fill the input fields with the newly created Database user, Database password and Database name. We will leave the localhost as-is.
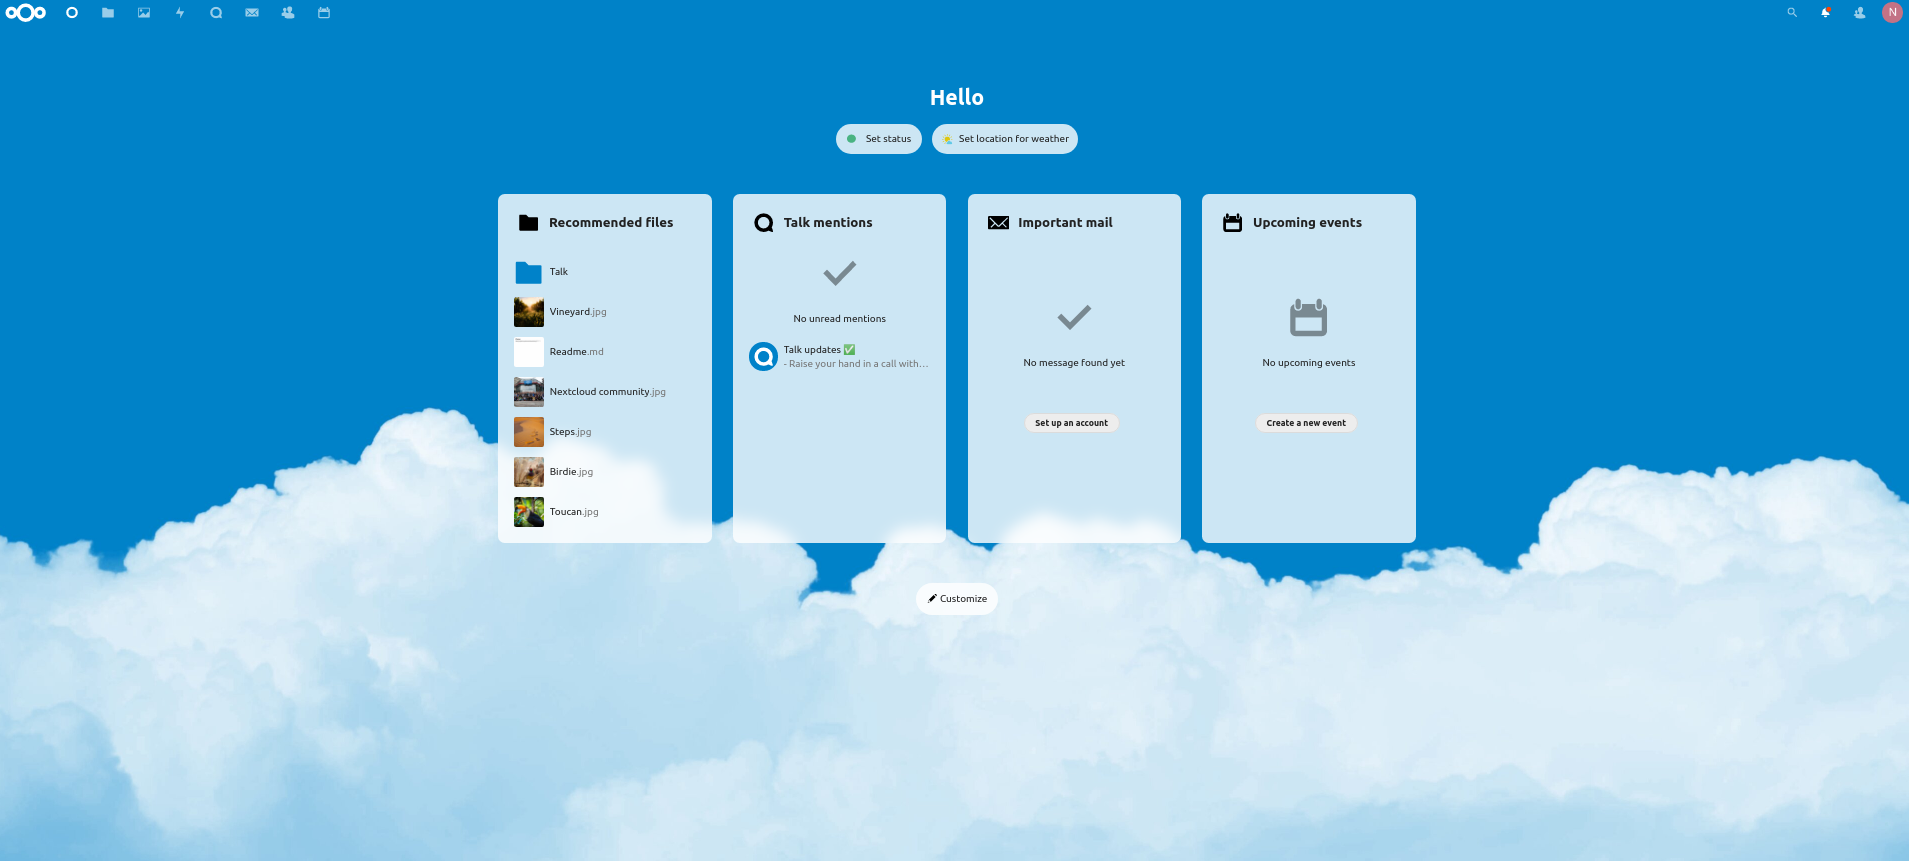
Then click on the Finish setup button to finalize the installation.