How to Install AlmaLinux 8
This guide was created for AlmaLinux 8 Beta Version. Now AlmaLinux 8.4 version is released and you can use How to Install AlmaLinux 8.4 Stable guide for stable version
Login to your Panel (https://crownpanel.com/)
To start the installation, first mount the AlmaLinux ISO.
Mounting the AlmaLinux ISO Image
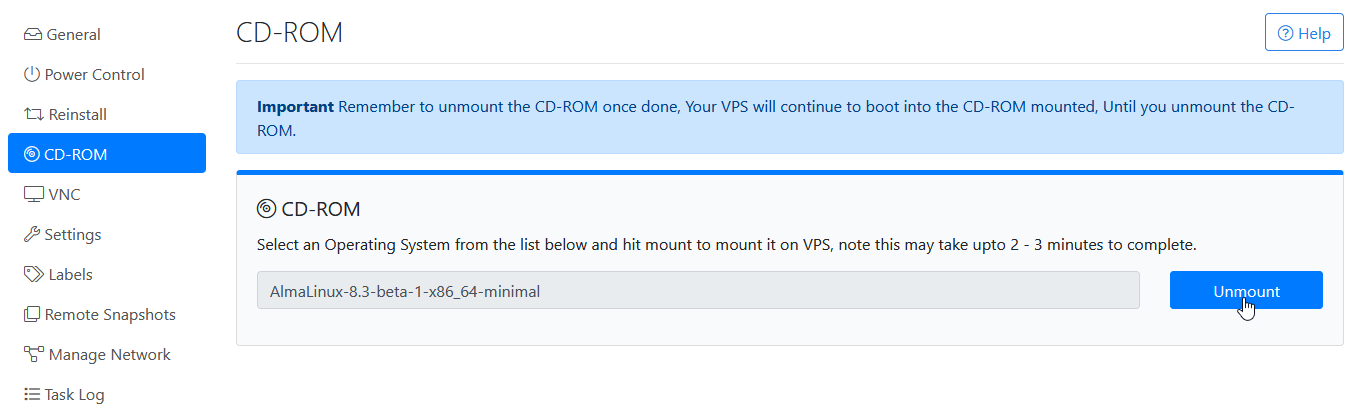
To mount the ISO select the CD-ROM Tab and select the AlmaLinux ISO from the drop-down named AlmaLinux-8.3-beta-1-x86_64-minimal and click on Mount button.
Please note: The ISO mount may take upto 2-3 minutes to complete.

Once the ISO has mounted (Task Log tab will show the status of the task), navigate to "Power Control" tab and then perform a Reboot task on the server.
Now, Switch to the VNC Tab and click on "Launch VNC" to launch the web based VNC console to start the AlmaLinux installation.
If the VPS hasn't booted yet into the AlmaLinux installer, please click on the
CTRL+ALT+DELbutton from the VNC console to send a reboot signal to the VPS to boot into the installer.
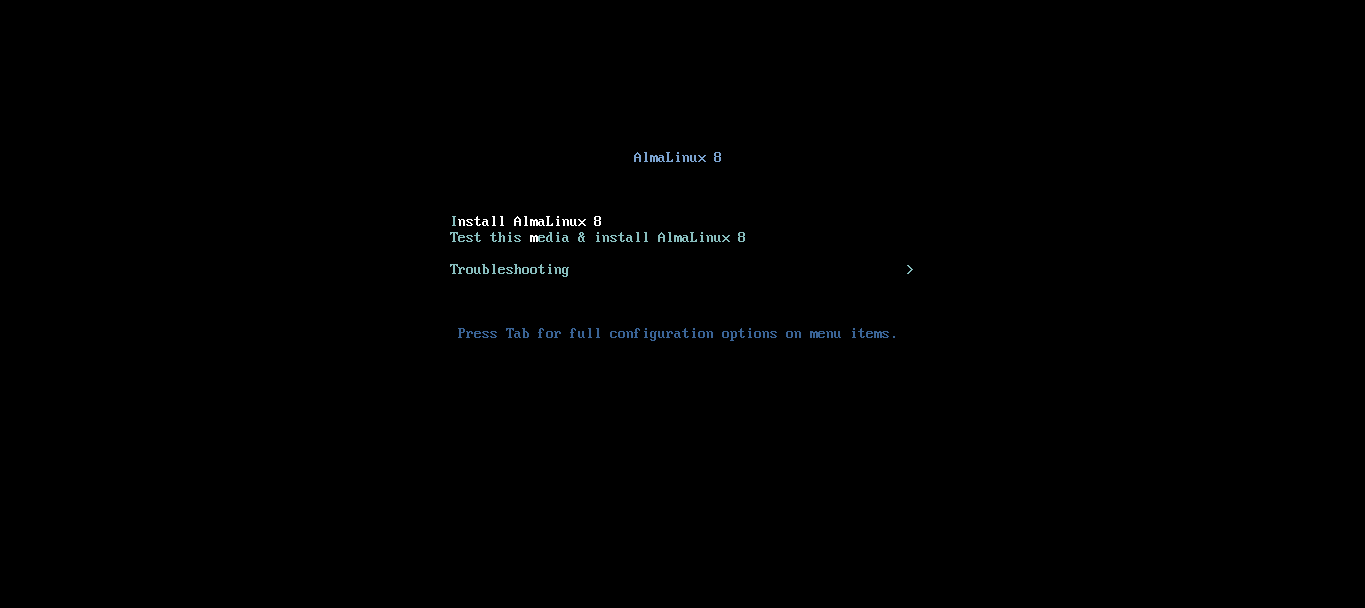
Once we have booted into the AlmaLinux installer,
Select "Install AlmaLinux"
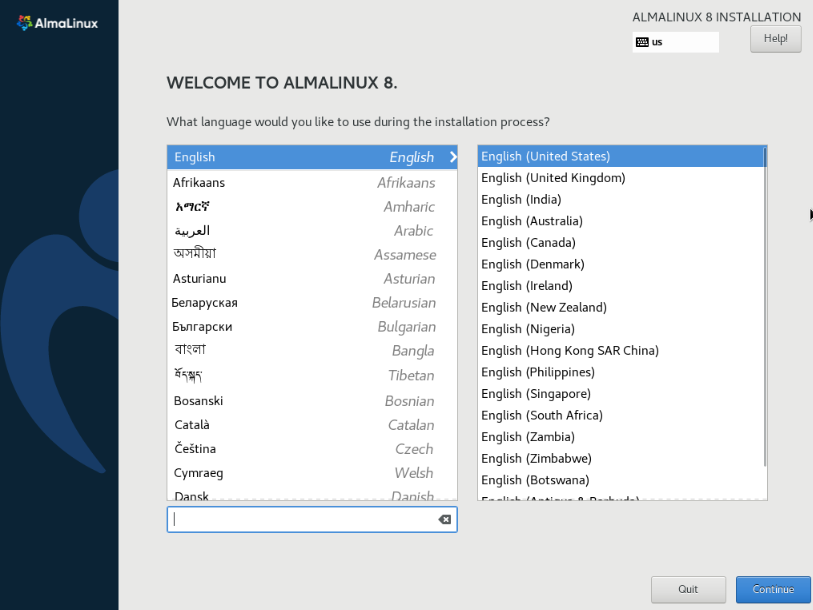
Select the desired language and click on continue.
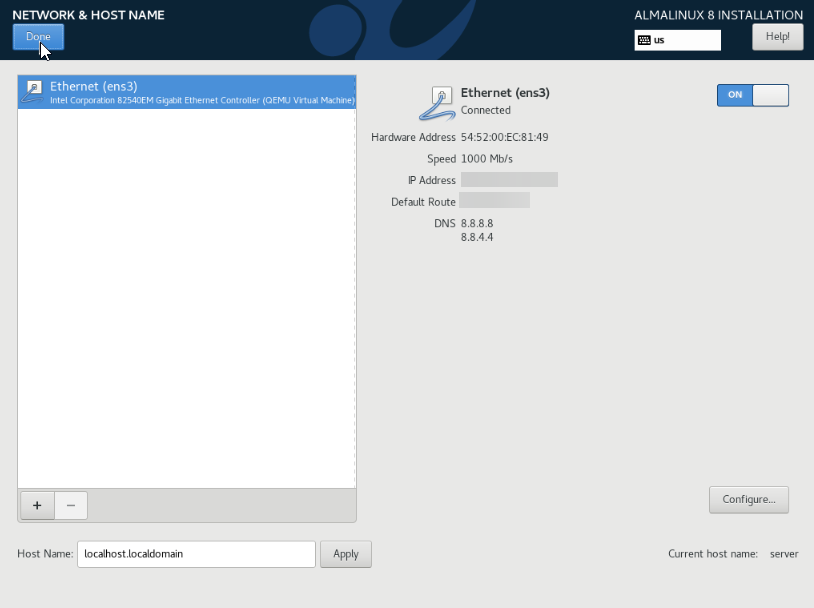
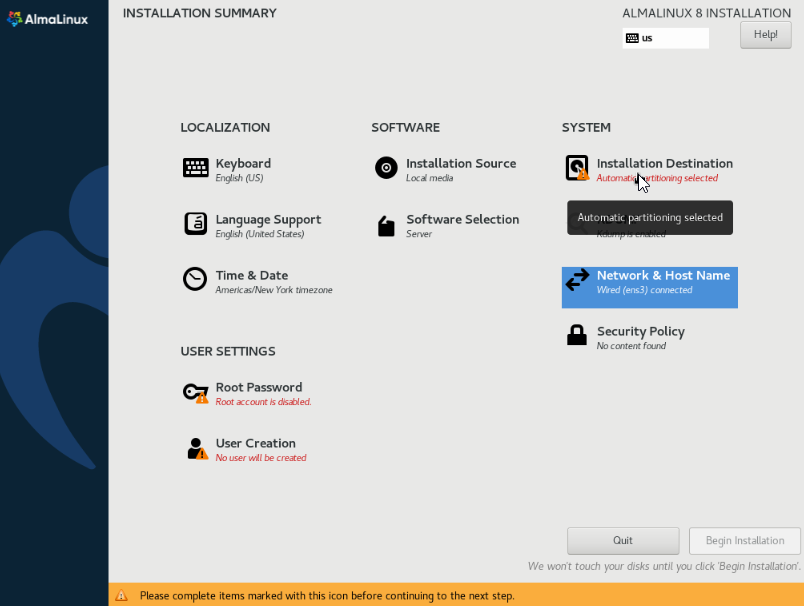
Select Network & Hostname and configure.
If you would like to keep the Network Dynamic / DHCP (default configuration), Enable the network and click on Done.
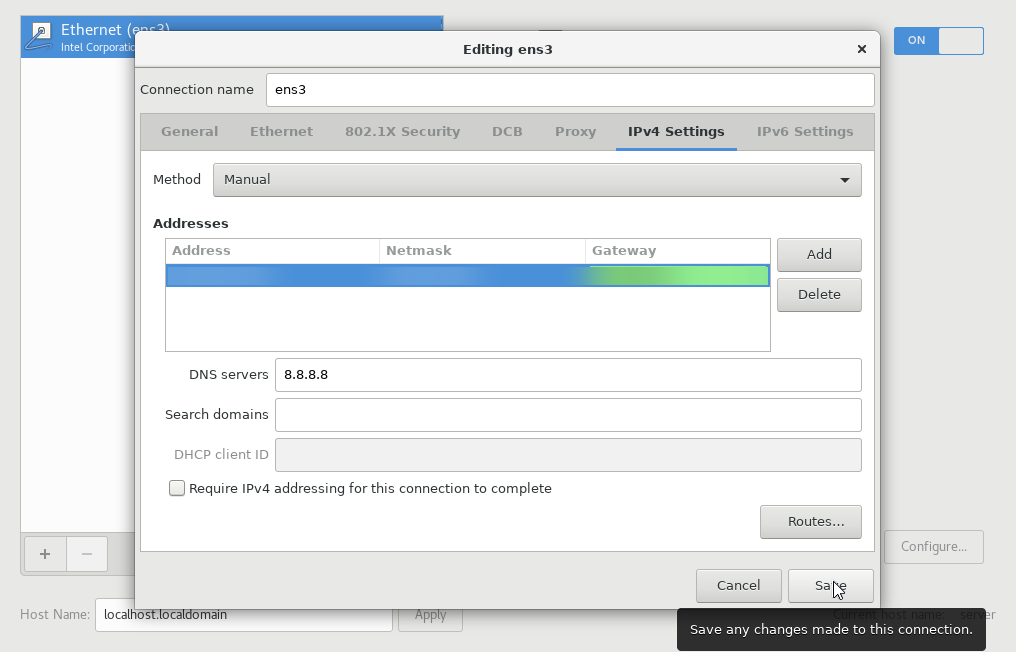
(Optional) Static Network Configuration
If you would like to configure the Network Static, click on the Configure button and then manually enter the Network information as shown below,
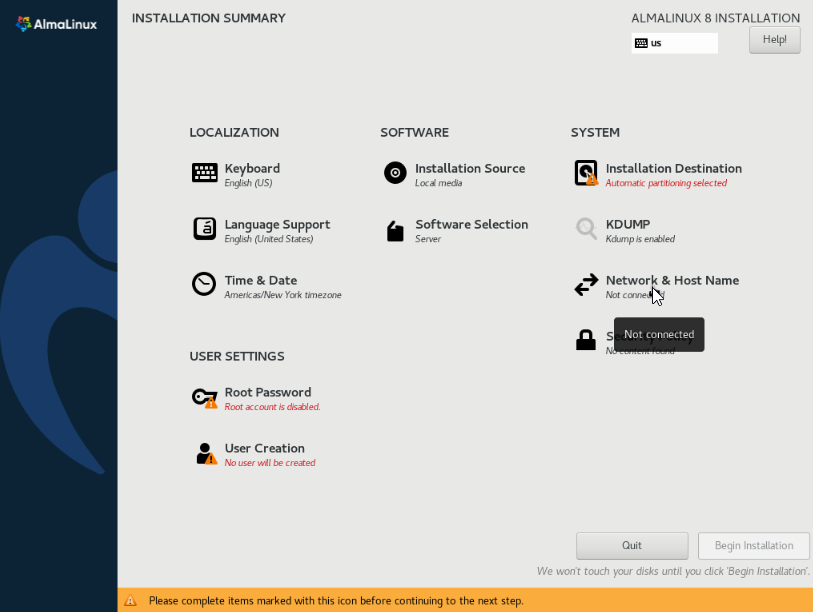
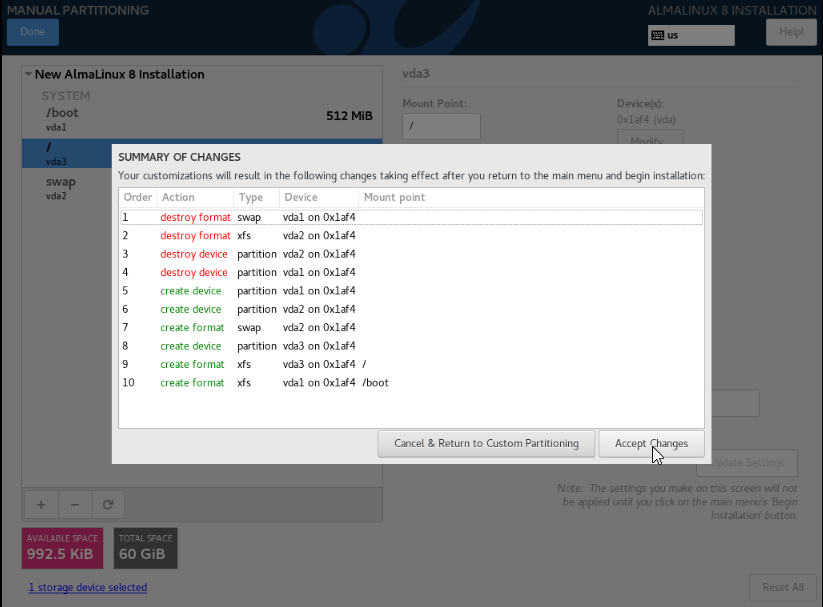
Disk Partitioning Configuration
After Select Installation & Destination.
Select standard Partition and assign disk required and done.
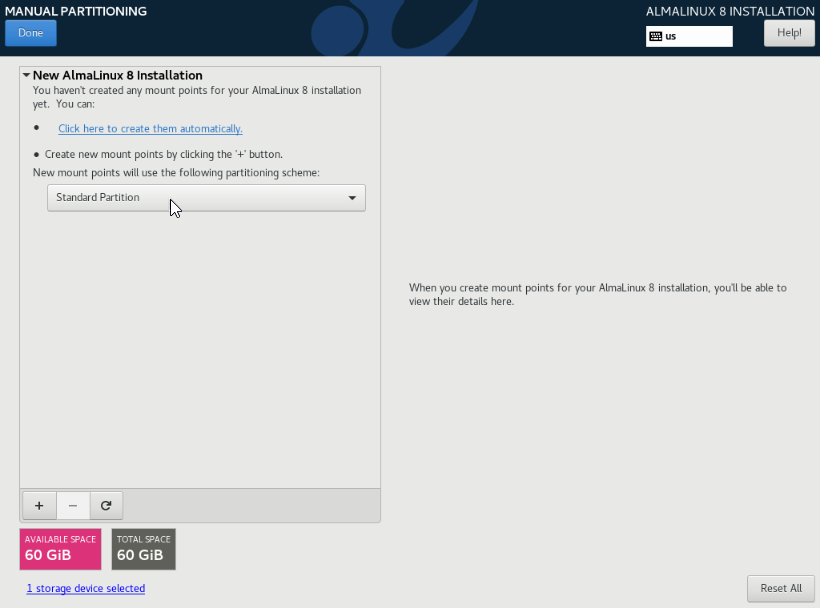
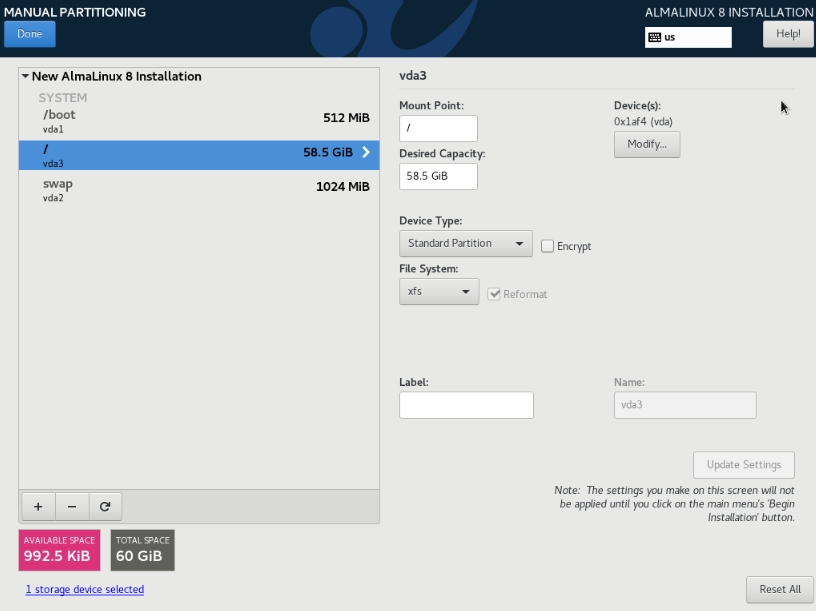
Then select Accept changes.
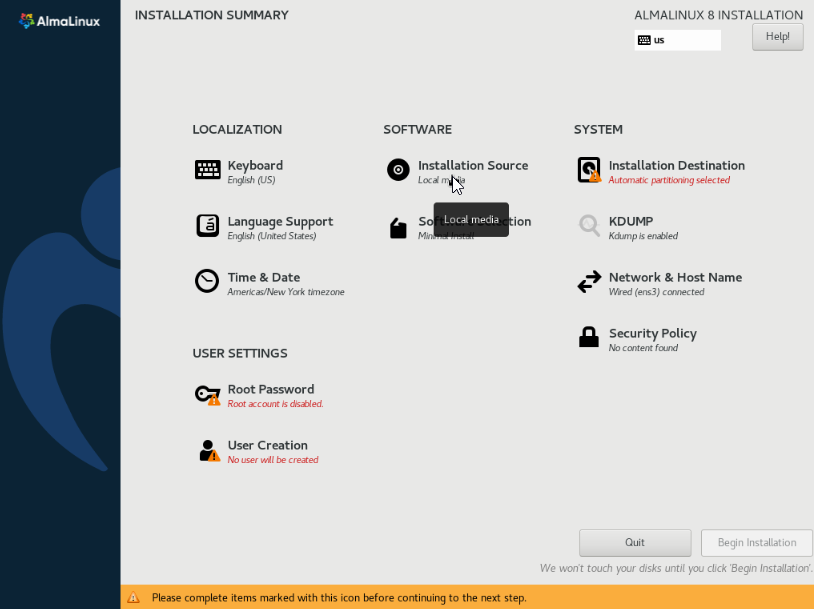
Installation Source Configuration
After Select Installation Source.
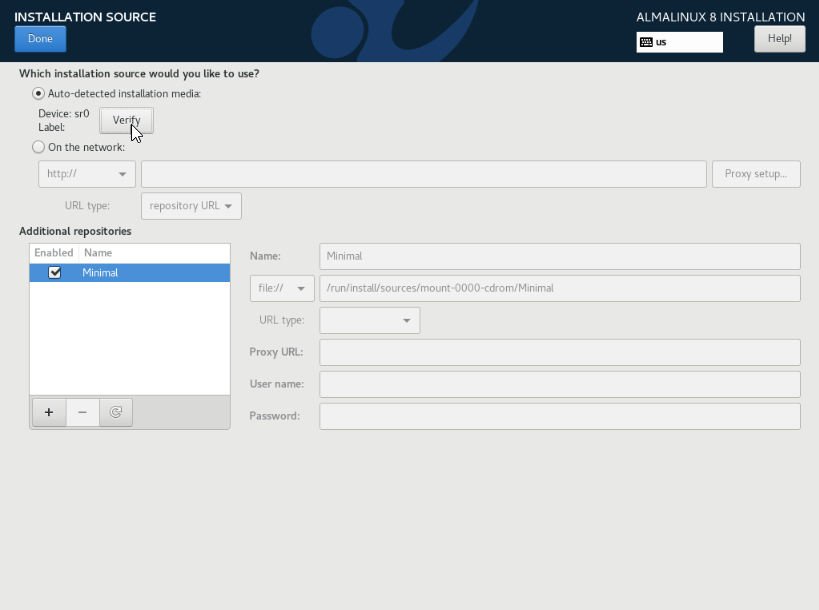
Select auto detected installation media -> verify -> Minimal and press done.
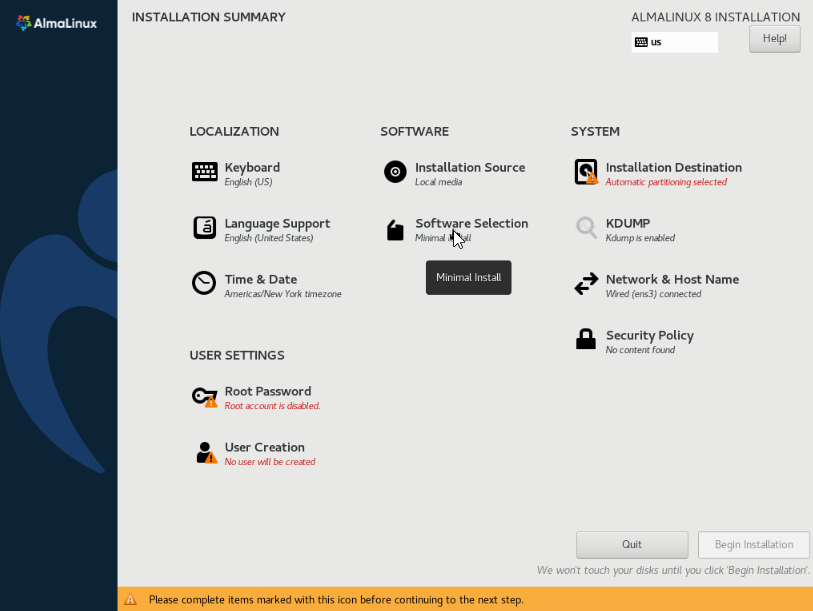
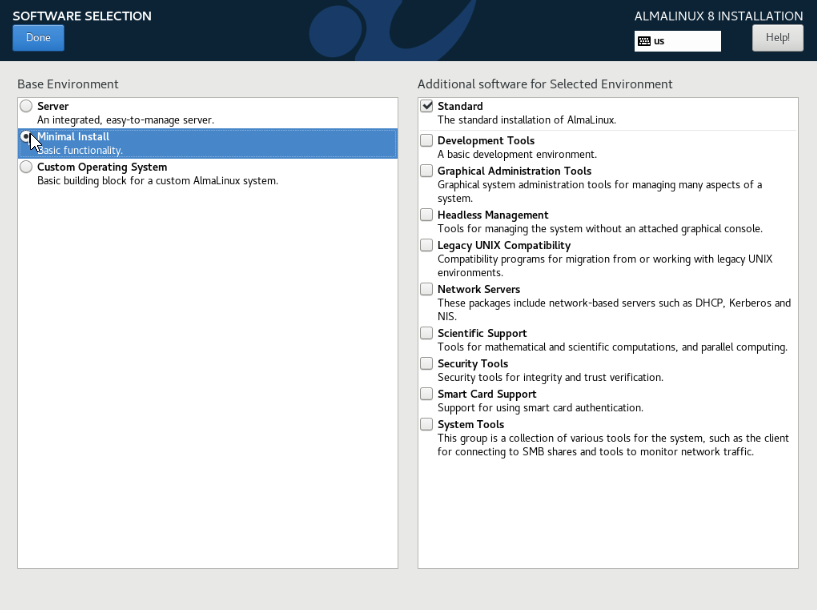
Software Selection
After Select Software Selection-->minimal install and press done.
Login Password Configuration
select the root password to set ‘root’ password.
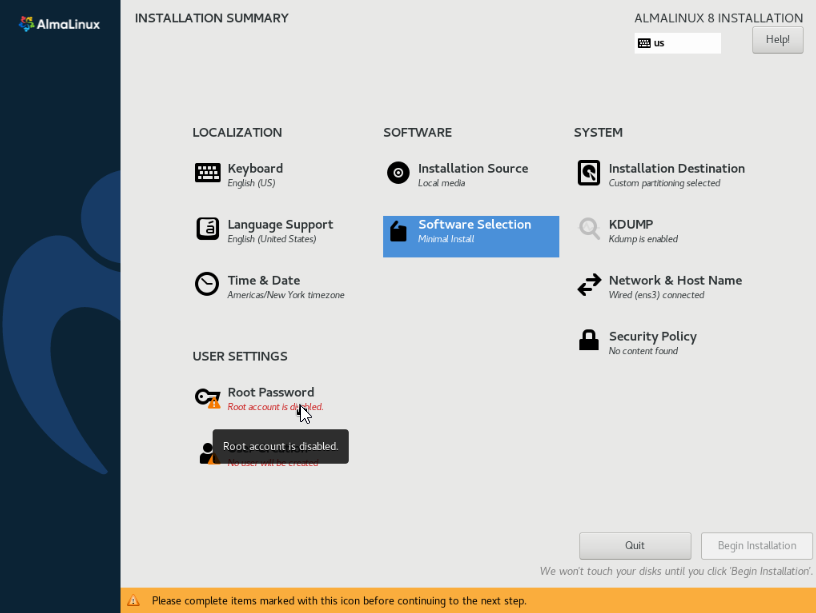

Begin Installation
And Begin Installation.
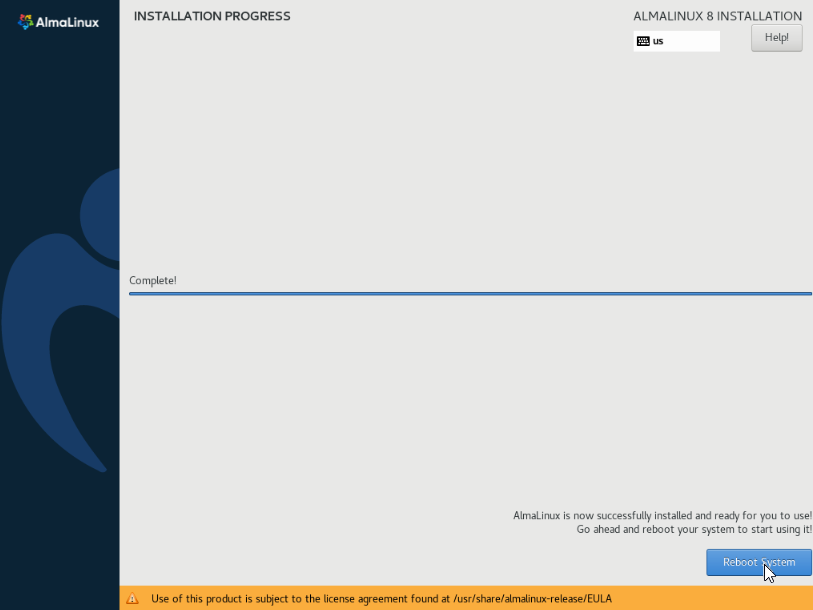
After installation is completed unmount the ISO and reboot the server. Wait for a few minutes for the reboot to complete, after which you will see the login prompt.
Note: You can also use SSH to connect to your VPS at this point.
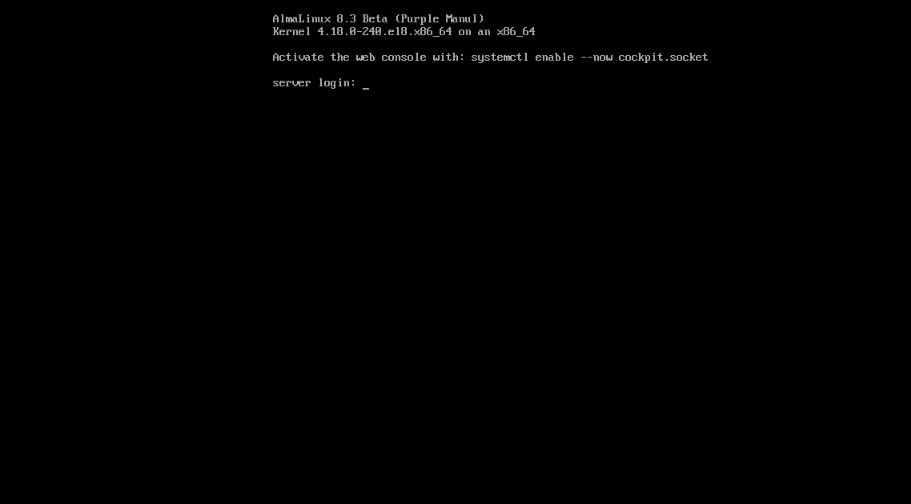
Done!
CrownCloud - Get a SSD powered KVM VPS at $4.5/month!
Use the code WELCOME for 10% off!
1 GB RAM / 25 GB SSD / 1 CPU Core / 1 TB Bandwidth per month
Available Locations: LAX | MIA | ATL | FRA | AMS