How to Install Desktop Environment on Debian 11 Server
Note – Debian 11 (Bullseye) reached its End of Life (EOL) on July 7, 2024.
Now who doesn't like the ease of using a Graphical User Interface (GUI) to perform tasks on any system.
Debian Server templates on any cloud hosting provider ships with CLI based which consumes low on resources and can do it's job as intended. While the GUI takes up some additional resources, it is easy to use at times.
Let us look into the steps that are needed to install a Desktop Environment on Debian 11 Bullseye.
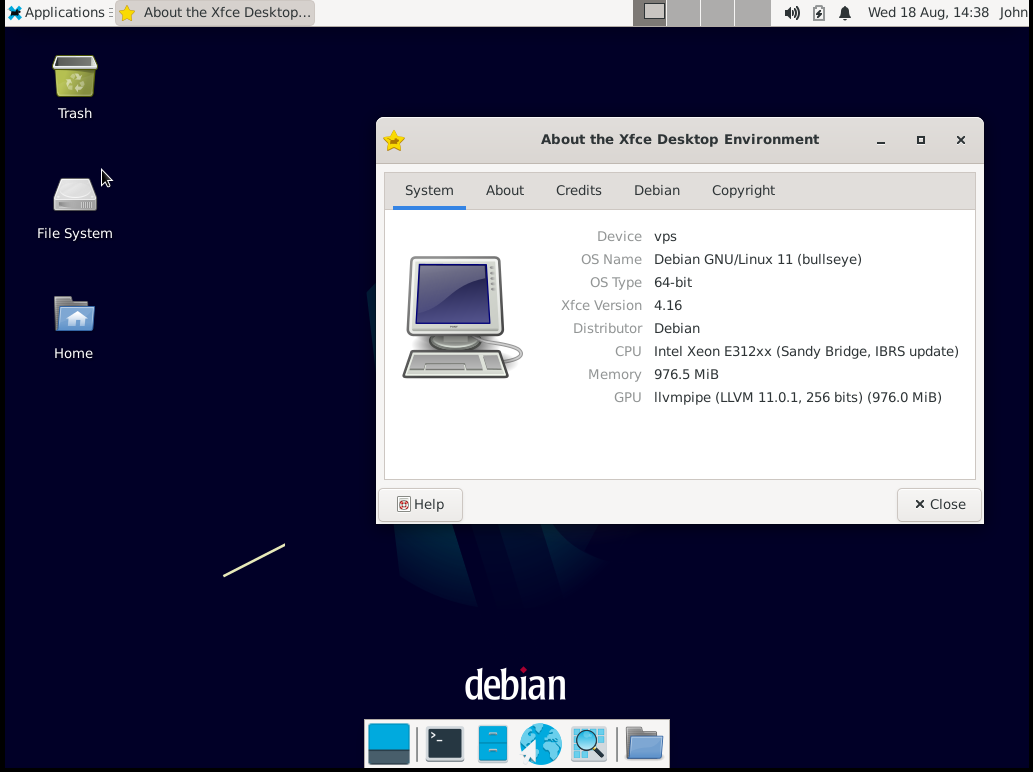
In this article we will focus on installing XFCE, this is much better and easier on resources as we know.
Updating the system
We first update the system to make sure that all our installed packages are upto date. Your Ubuntu system can be updated easily with the following command.
apt update

apt upgrade
Installing XFCE
It is a fast, stable, and lightweight desktop environment, which makes it ideal for usage on a remote server.
apt install xfce4 xfce4-goodies xorg dbus-x11 x11-xserver-utilsThe installation will take a while to complete.
After this, just reboot your Debian server to apply the changes.
Access GUI Server
After the reboot completes, you can head to our VNC tab in CrownPanel and click on the "Launch VNC" button to open a console.
You should now be able to view a GUI based login screen.
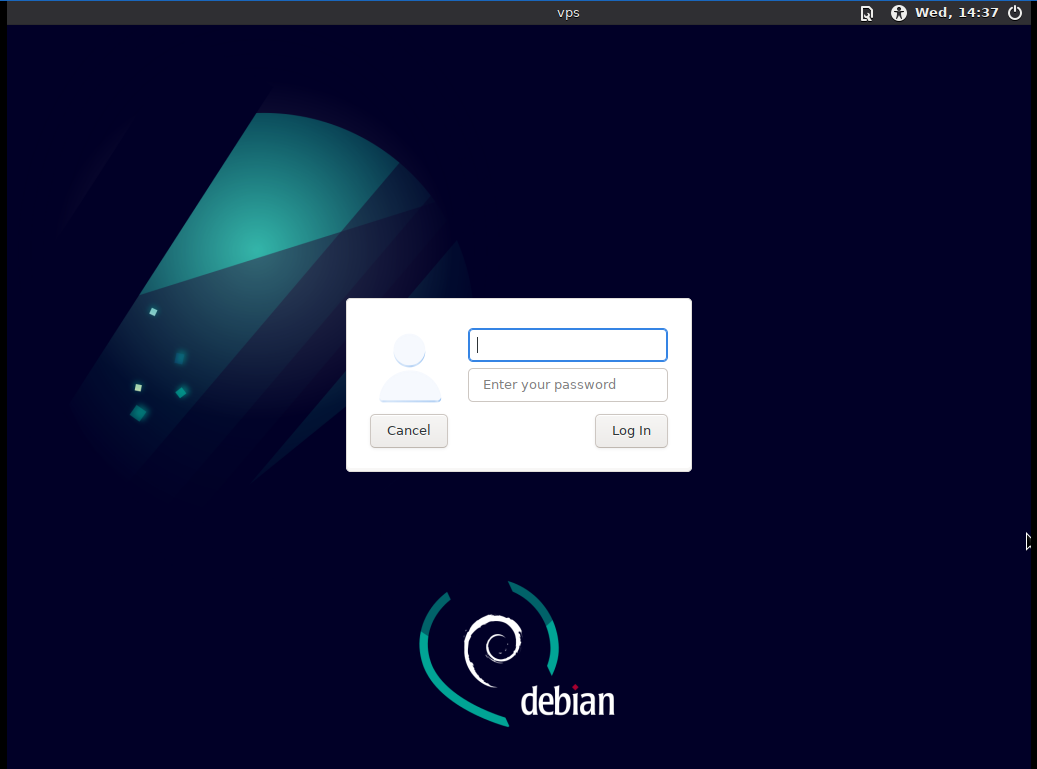
Enter your credentials and login,
There are other ways to access the GUI server remotely as well.
One option is to install XRDP and you can connect to your server via Remote Desktop Connection from your Windows machine.
This concludes our topic of installing a Desktop Environment on Debian 11 Bullseye.
CrownCloud - Get a SSD powered KVM VPS at $4.5/month!
Use the code WELCOME for 10% off!
1 GB RAM / 25 GB SSD / 1 CPU Core / 1 TB Bandwidth per month
Available Locations: LAX | MIA | ATL | FRA | AMS