Getting Started with Incredible PBX 2022
In this wiki article, we will learn how to install Incredible PBX 2022 (Rocky Linux based) from CrownPanel.
-
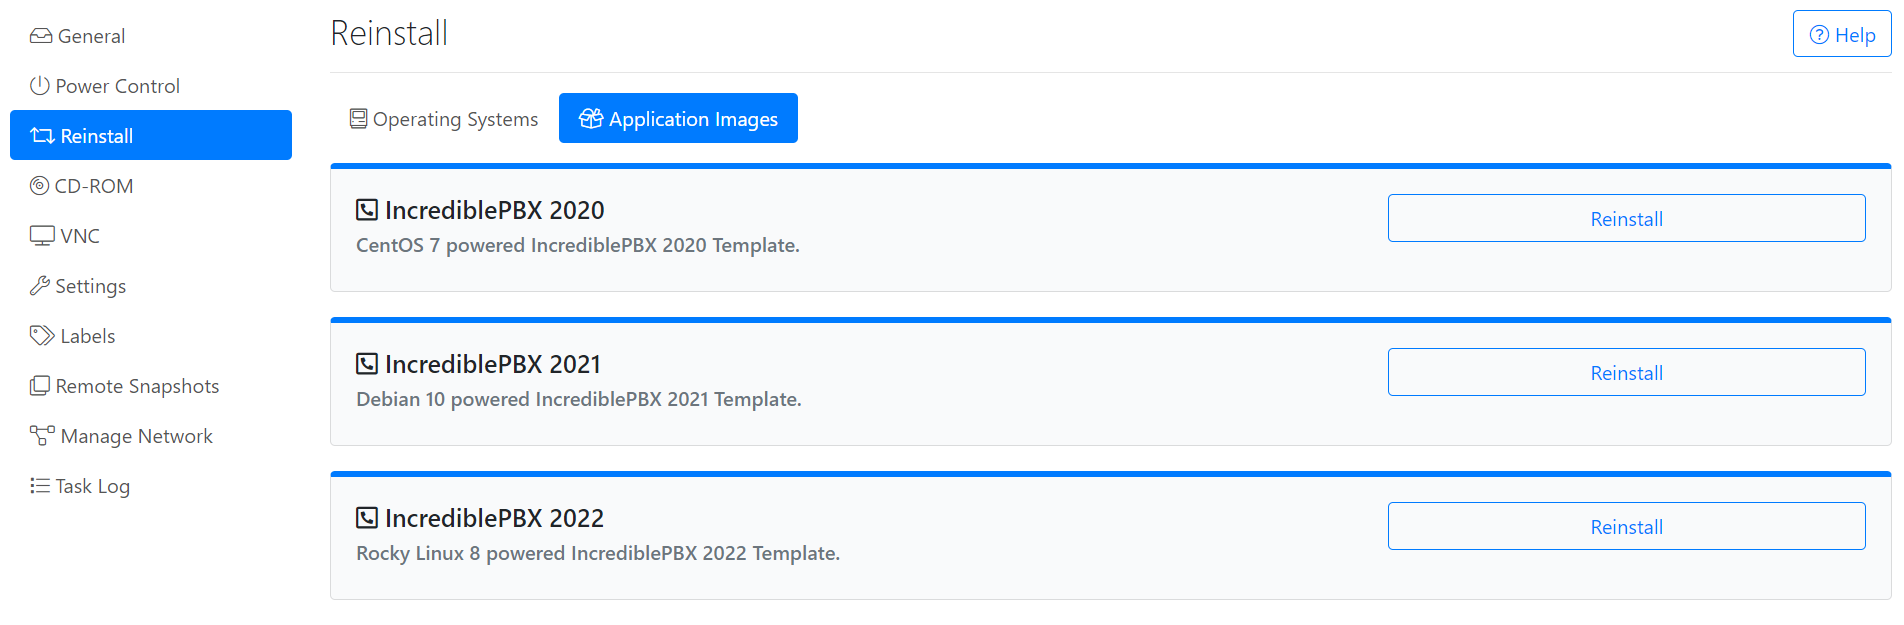
The Incredible PBX 2022 template is readily available for everyone (and no need to create support ticket for this now).
-
Incredible PBX can be installed with a 1-Click re-install option in the CrownPanel and you can find it in Application Images option with the label IncrediblePBX 2022, for Instructions on how to re-install you can click here.
-
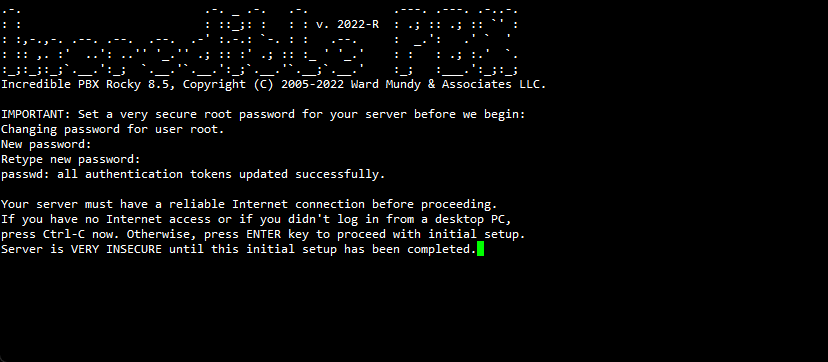
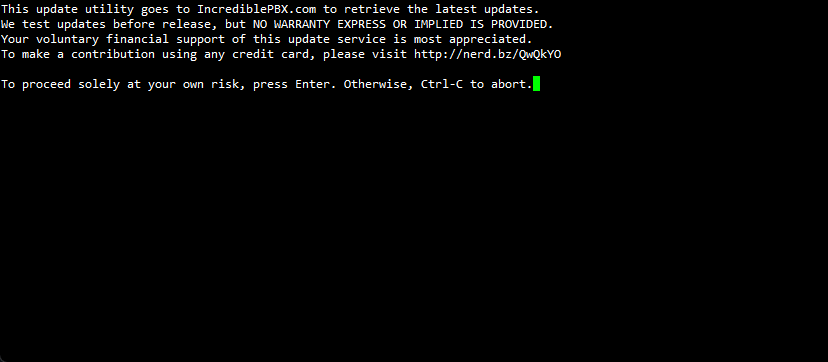
Next, SSH into the server to complete the remaining installation steps. It is an interactive process from here on and the system will prompt you for some inputs regarding the configuration.
NOTE: The first IP Address accessing the Incredible PBX server is whitelisted and requires the same IP address to access the server again, we recommend you to use a VPN, or have a static IP configured on your local system to access the server remotely anytime.
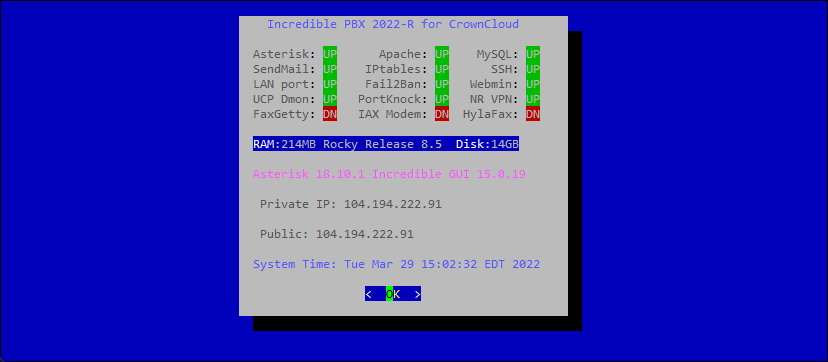
Set new root password,
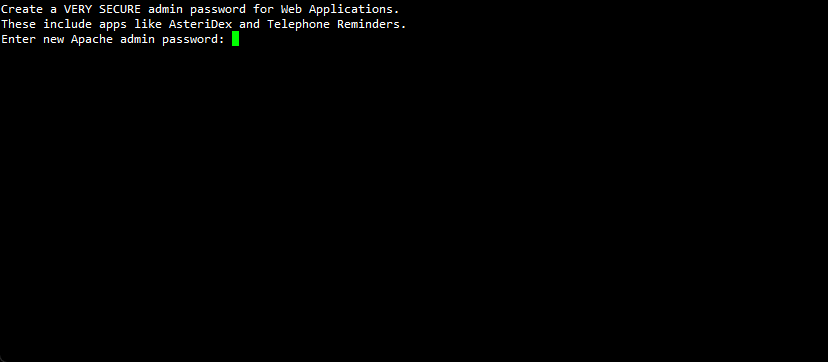
Set new admin password for the FreePBX,

Set new Apache password,
Reboot the server after reading the instructions provided,
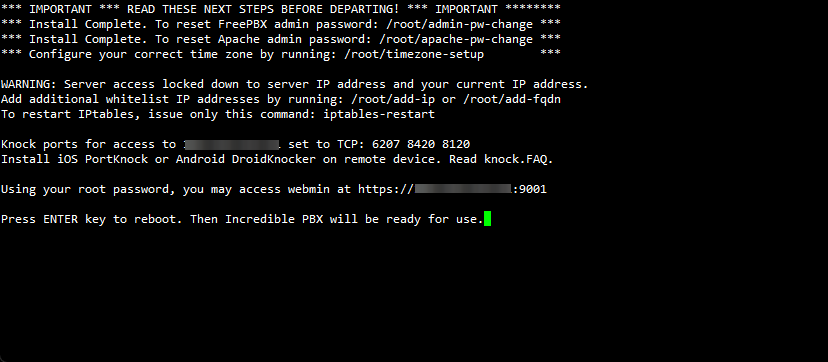
When you connect back to the server after it's reboot, the system will automatically run an update. This will take a few minutes initially and then you should be good to go.
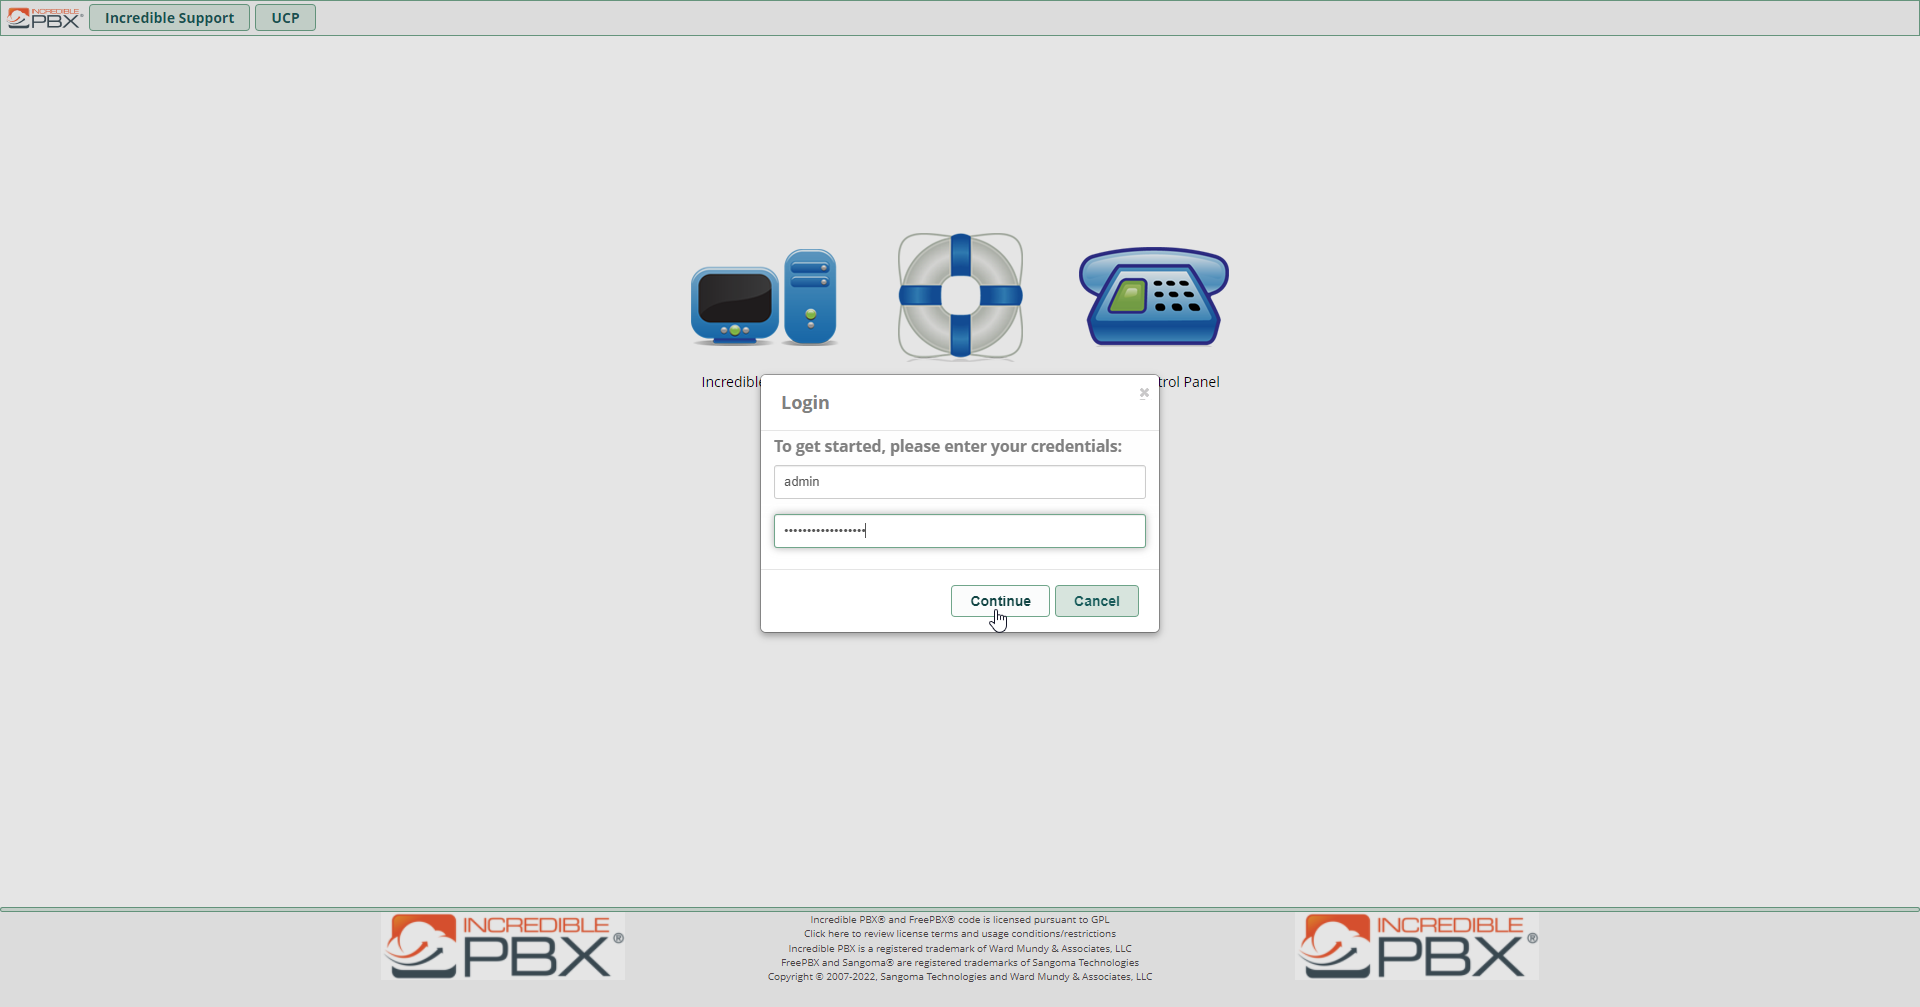
Access Incredible PBX Admin Panel
Open the browser and enter the following URL,
http://server-ip-address/Login credentials,
- Username - admin
- Password - what you have set in Step 2[admin password].
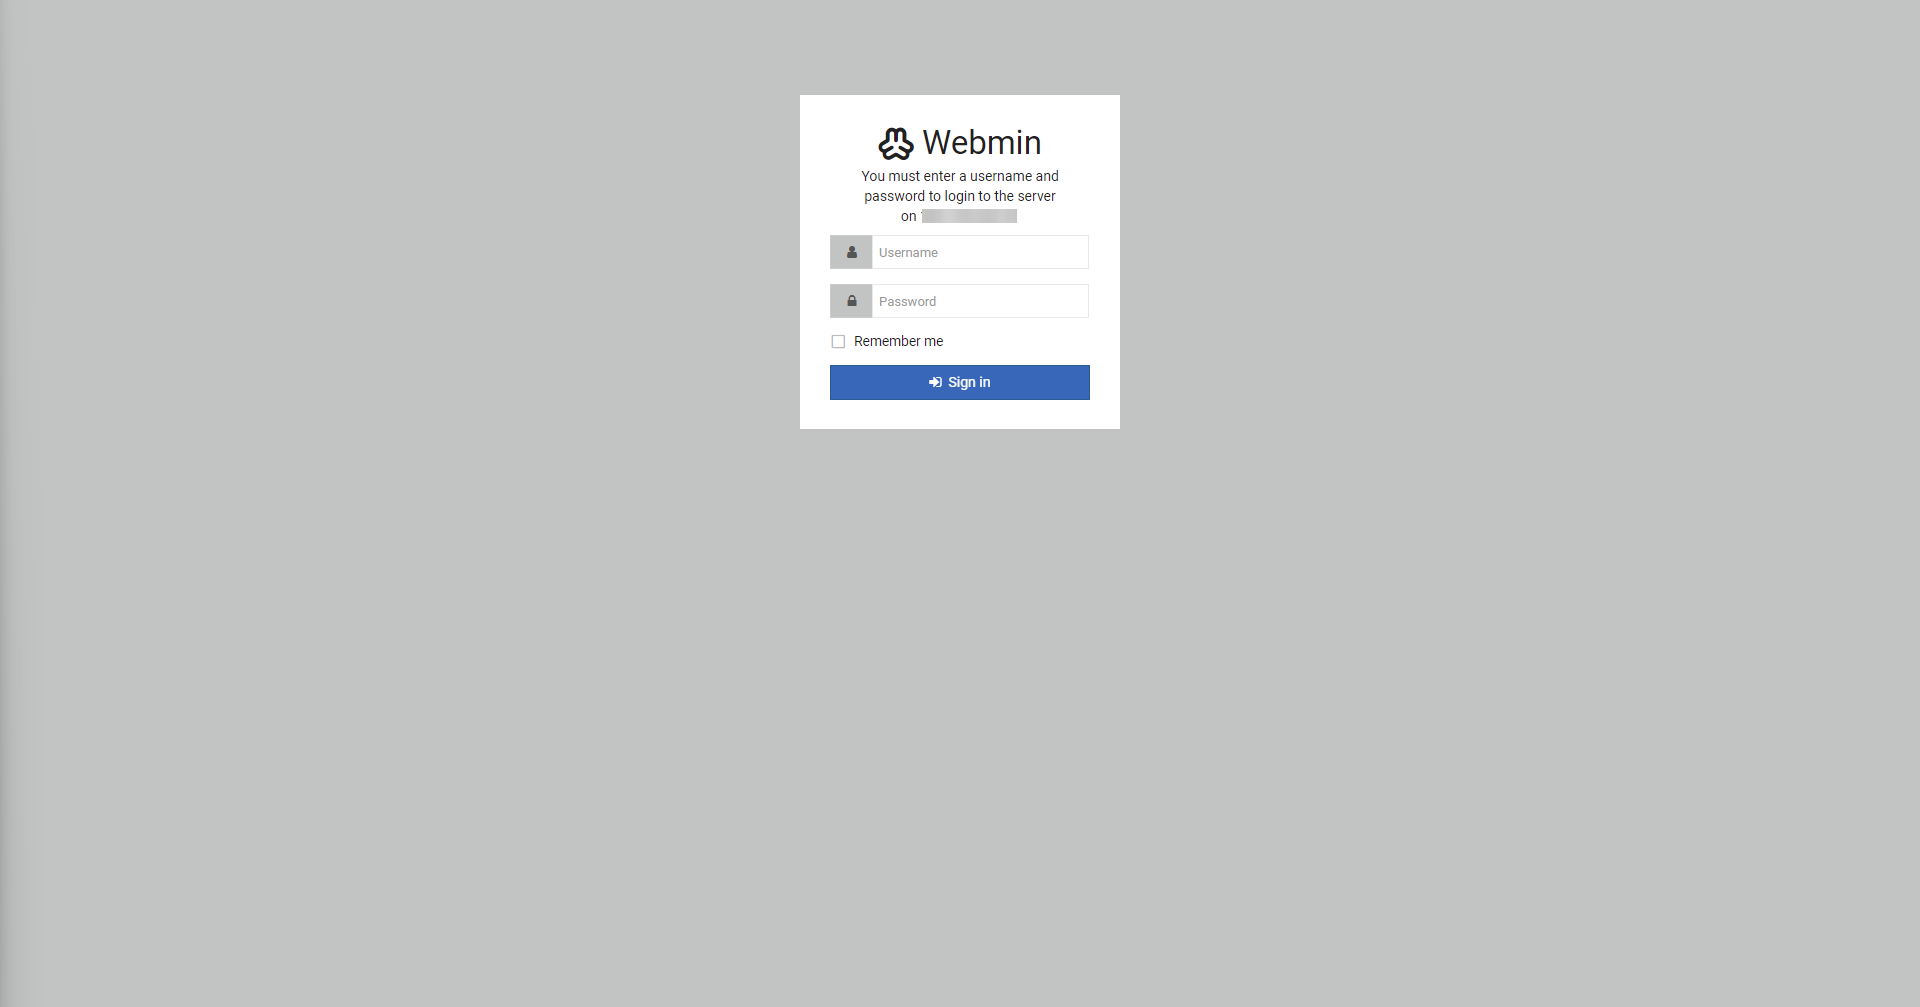
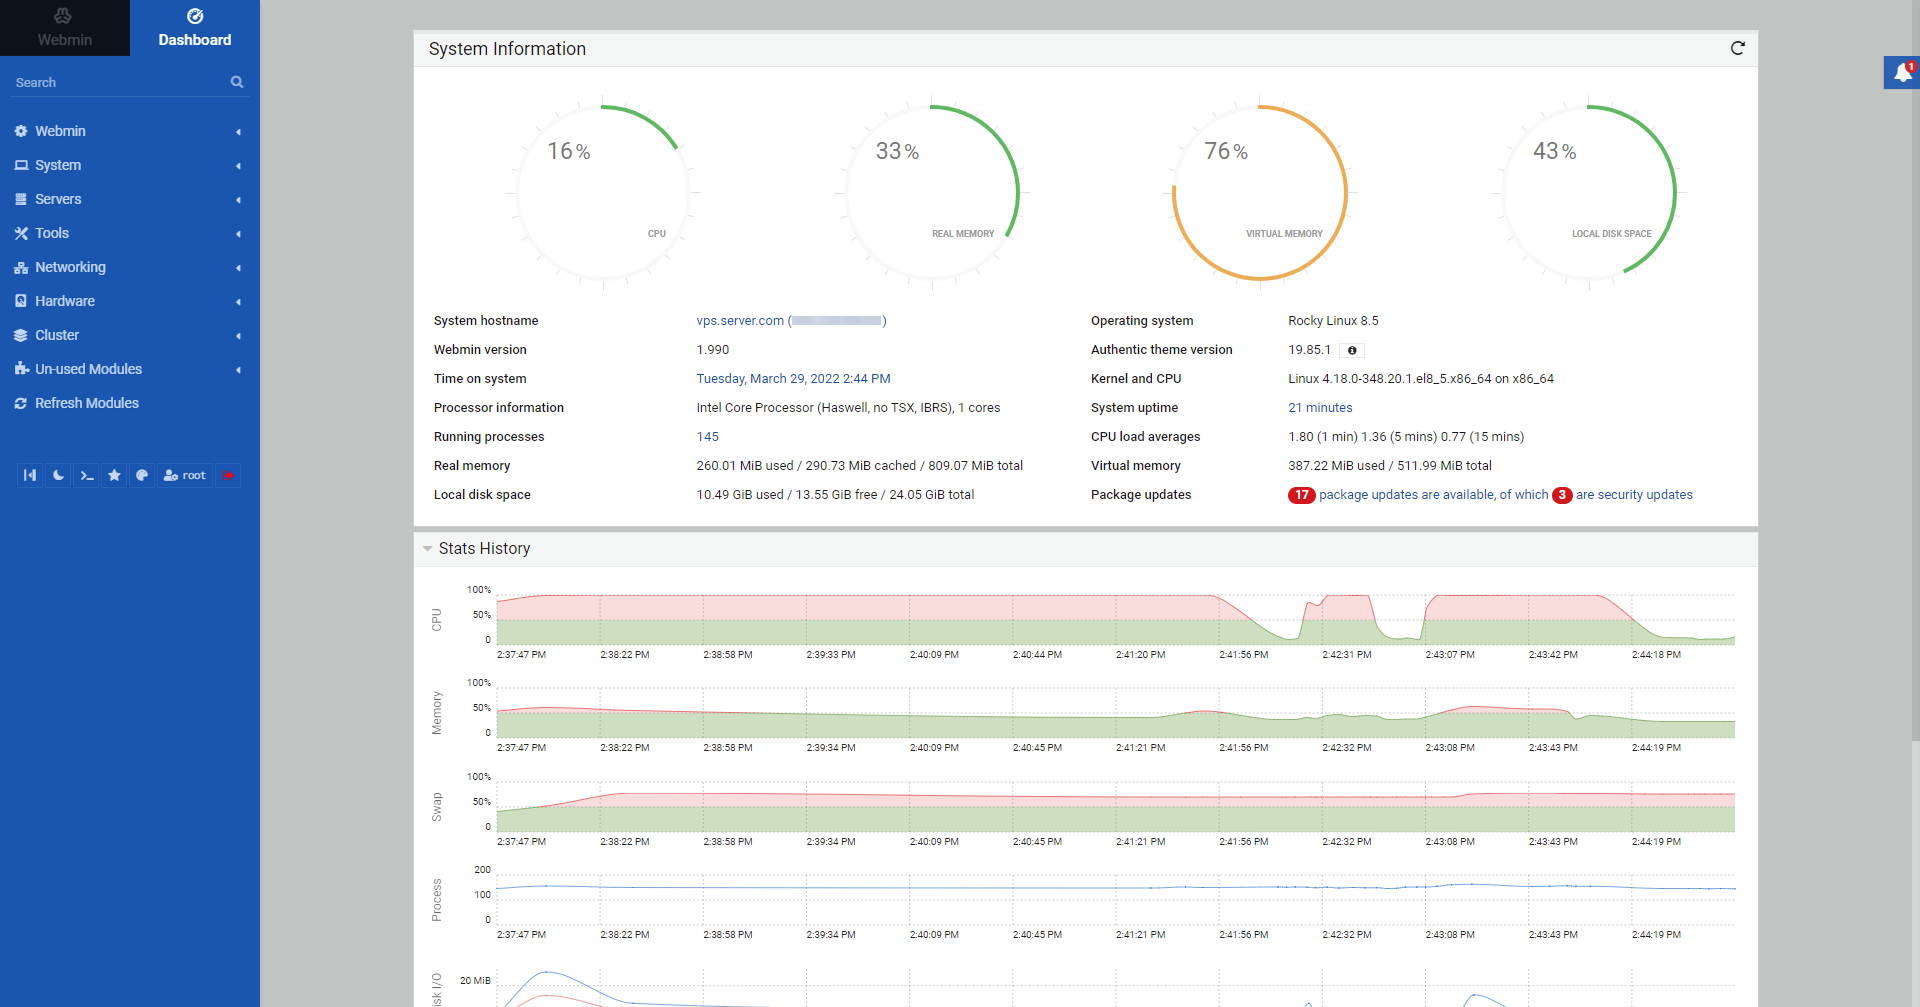
Access Incredible PBX Webmin
Open the browser and enter the following URL and port,
https://server-ip-address:9001Login credentials,
- Username - root
- Password - what you have set in Step 1[root password].
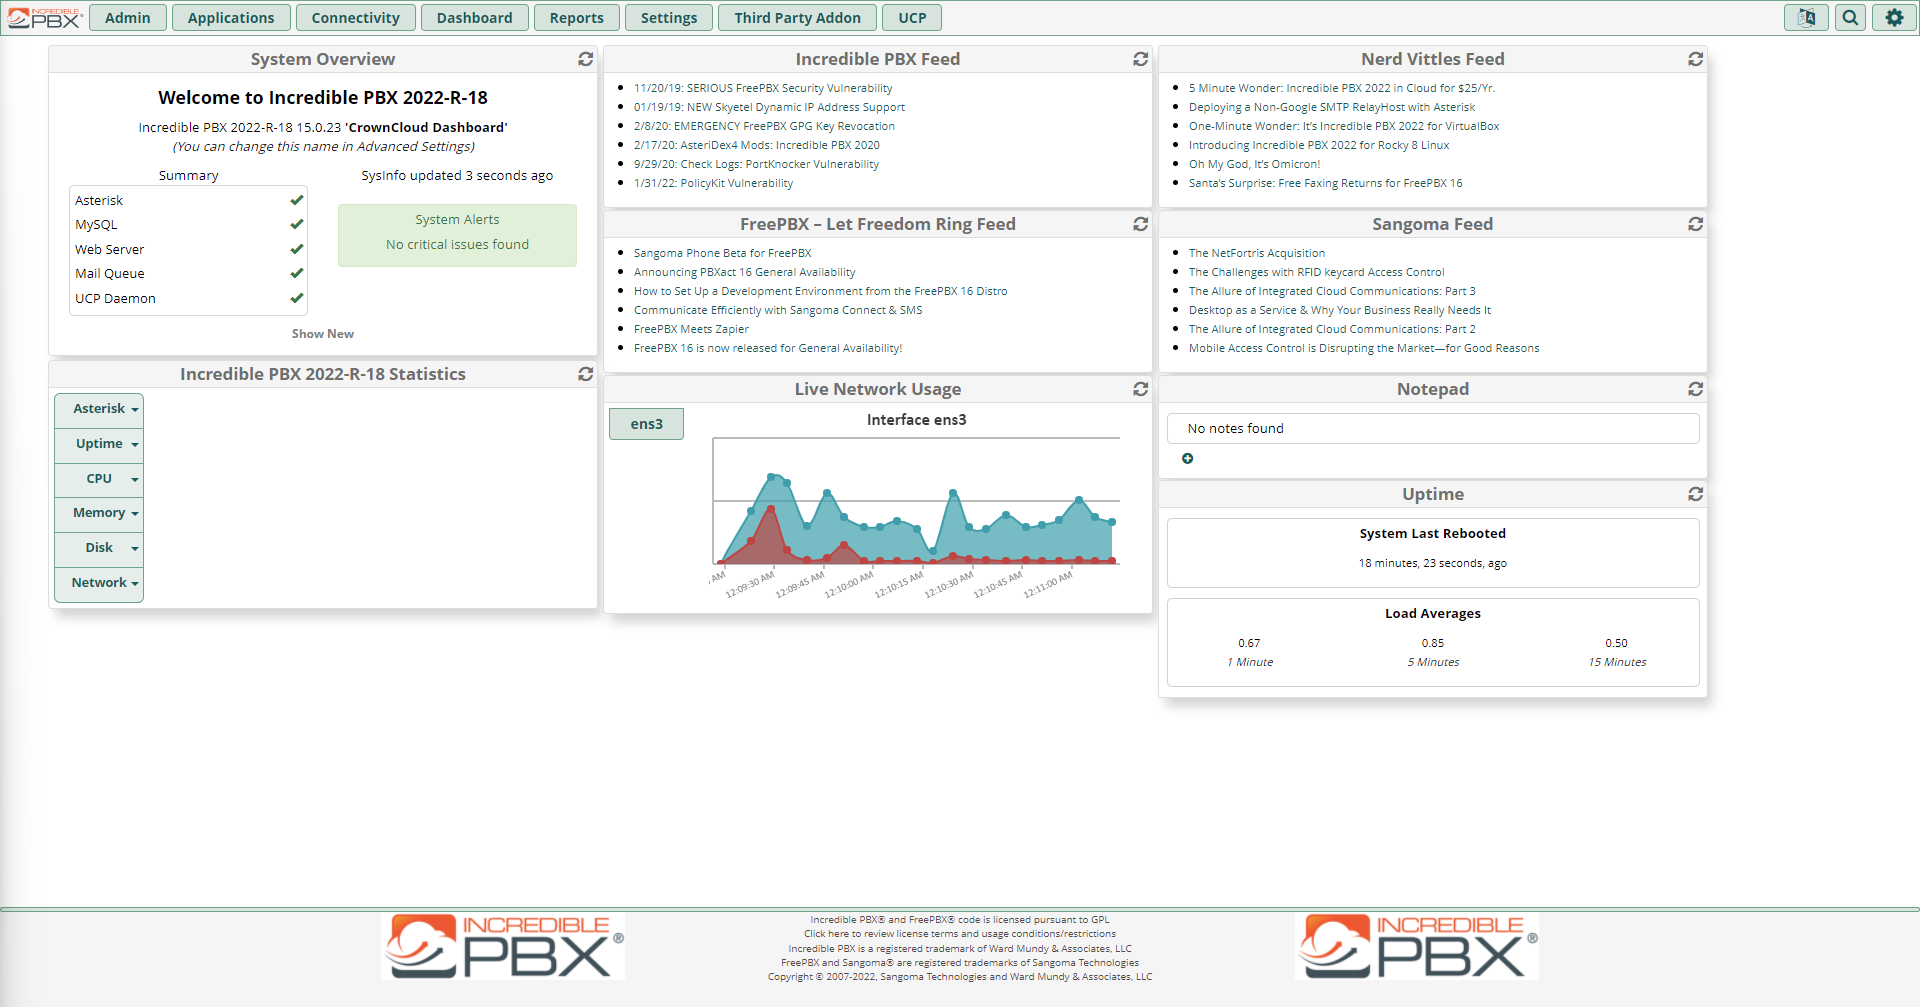
This would conclude the installation Incredible PBX 2022 on CrownPanel.
If you're looking to whitelist an IP address, click on whitelisting an IP address on PBX.
If you face technical difficulties, kindly reach out to us via Support Ticket.
CrownCloud - Get a SSD powered KVM VPS at $4.5/month!
Use the code WELCOME for 10% off!
1 GB RAM / 25 GB SSD / 1 CPU Core / 1 TB Bandwidth per month
Available Locations: LAX | MIA | ATL | FRA | AMS