How to Install Winter CMS with LAMP Stack on Ubuntu 23.10
Winter is a free, open-source content management system based on the Laravel PHP framework. Developers and agencies all around the world rely upon Winter for its quick prototyping and development, safe and secure codebase, and dedication to simplicity. In this article, we are going to learn how to install Winter CMS on Ubuntu 23.10. So, let’s get started.
Checkout the Winter CMS Project Here .
Get started with $5 VPS from CrownCloud. Check our latest offers : CrownCloud VPS [ 24x7 In-House Customer Support ].
Pre-requisites :
-
A system with Ubuntu 23.10 installed and running.
-
rootaccess to the system. - LAMP Stack installed and running, for this, you can refer to one of our guides on installing the LAMP Stack (Apache, MariaDB, and PHP).
Once you're all set, we'll proceed with Winter CMS installation and configuration.
Create Database
Let us begin with creating a Database and a user. We will then grant the required privileges to the user so it can interact with the Database.
mysql -u root

CREATE DATABASE ccwintercms;

CREATE USER 'ccwintercms'@'localhost' IDENTIFIED BY 'UYGVc%$#Erfgt*&^%4';

GRANT ALL PRIVILEGES ON ccwintercms.* TO 'ccwintercms'@'localhost';

FLUSH PRIVILEGES;

QUIT
The above commands will give complete access to the user
ccwintercms. We would suggest using a strong and long password.
Configuring Apache vHost
Now, create a new Apache configuration file dev.domainhere.info.conf for Winter CMS with the following command.
Replace
cms.domainhere.infowith the domain name of your own for all the below code examples:
vi /etc/apache2/sites-available/dev.domainhere.info.confNow, press i to go to INSERT mode and type in the following lines of codes in the cms.domainhere.info.conf file.
<VirtualHost *:80>

ServerName dev.domainhere.info
ServerAlias dev.domainhere.info
ServerAdmin admin@cms.domainhere.info
DocumentRoot /var/www/html/wintercms

ErrorLog ${APACHE_LOG_DIR}/dev.domainhere.info_error.log
CustomLog ${APACHE_LOG_DIR}/dev.domainhere.info_access.log combined

<Directory /var/www/html/wintercms/>
Options FollowSymlinks
AllowOverride All
Require all granted
</Directory>

</VirtualHost>
Now make directory for Winter CMS files:
mkdir -p /var/www/html/wintercms/Enable SSL and Rewrite:
a2ensite dev.domainhere.info

a2enmod rewrite ssl
Restart Apache:
systemctl restart apache2 Enable http and https ( 80/443 )
To enable http and https connection through the firewall, follow the commands:
ufw allow 80/tcp

ufw allow 443/tcp
Download Winter CMS
Let's download Winter CMS:
cd /var/www/html/wintercms

wget https://github.com/wintercms/web-installer/releases/latest/download/install.zip

unzip install.zip

chown -R www-data:www-data /var/www/html/wintercms/

chmod -R 775 /var/www/html/wintercms/
Install Let’s Encrypt SSL Certificate
Run the command to install certbot specific to apache,
apt install certbot python3-certbot-apacheGenerate Let's Encrypt SSL with the following command,
certbot --apache -d dev.domainhere.infoOutput:
  root@ubuntu23:/var/www/html/wintercms# certbot --apache -d dev.domainhere.info
  Saving debug log to /var/log/letsencrypt/letsencrypt.log
  Enter email address (used for urgent renewal and security notices)
   (Enter 'c' to cancel): adam@gmail.com

  - - - - - - - - - - - - - - - - - - - - - - - - - - - - - - - - - - - - - - - -
  Please read the Terms of Service at
  https://letsencrypt.org/documents/LE-SA-v1.3-September-21-2022.pdf. You must
  agree in order to register with the ACME server. Do you agree?
  - - - - - - - - - - - - - - - - - - - - - - - - - - - - - - - - - - - - - - - -
  (Y)es/(N)o: y

  - - - - - - - - - - - - - - - - - - - - - - - - - - - - - - - - - - - - - - - -
  Would you be willing, once your first certificate is successfully issued, to
  share your email address with the Electronic Frontier Foundation, a founding
  partner of the Let's Encrypt project and the non-profit organization that
  develops Certbot? We'd like to send you email about our work encrypting the web,
  EFF news, campaigns, and ways to support digital freedom.
  - - - - - - - - - - - - - - - - - - - - - - - - - - - - - - - - - - - - - - - -
  (Y)es/(N)o: y
  Account registered.
  Requesting a certificate for dev.domainhere.info

  Successfully received certificate.
  Certificate is saved at: /etc/letsencrypt/live/dev.domainhere.info/fullchain.pem
  Key is saved at:         /etc/letsencrypt/live/dev.domainhere.info/privkey.pem
  This certificate expires on 2024-01-21.
  These files will be updated when the certificate renews.
  Certbot has set up a scheduled task to automatically renew this certificate in the background.

  Deploying certificate
  Successfully deployed certificate for dev.domainhere.info to /etc/apache2/sites-available/dev.domainhere.info-le-ssl.conf
  Congratulations! You have successfully enabled HTTPS on https://dev.domainhere.info
  We were unable to subscribe you the EFF mailing list because your e-mail address appears to be invalid. You can try again later by visiting https://act.eff.org.

  - - - - - - - - - - - - - - - - - - - - - - - - - - - - - - - - - - - - - - - -
  If you like Certbot, please consider supporting our work by:
   * Donating to ISRG / Let's Encrypt:   https://letsencrypt.org/donate
   * Donating to EFF:                    https://eff.org/donate-le
  - - - - - - - - - - - - - - - - - - - - - - - - - - - - - - - - - - - - - - - -
Configuring Winter CMS
Now open the domain name with a /install.html from your browser, this will redirect you to configuring the final parts of the Winter CMS installation.
https://dev.domainhere.info/install.htmlReplace the
dev.domainhere.infowith the actual IP or domain configured on the server.
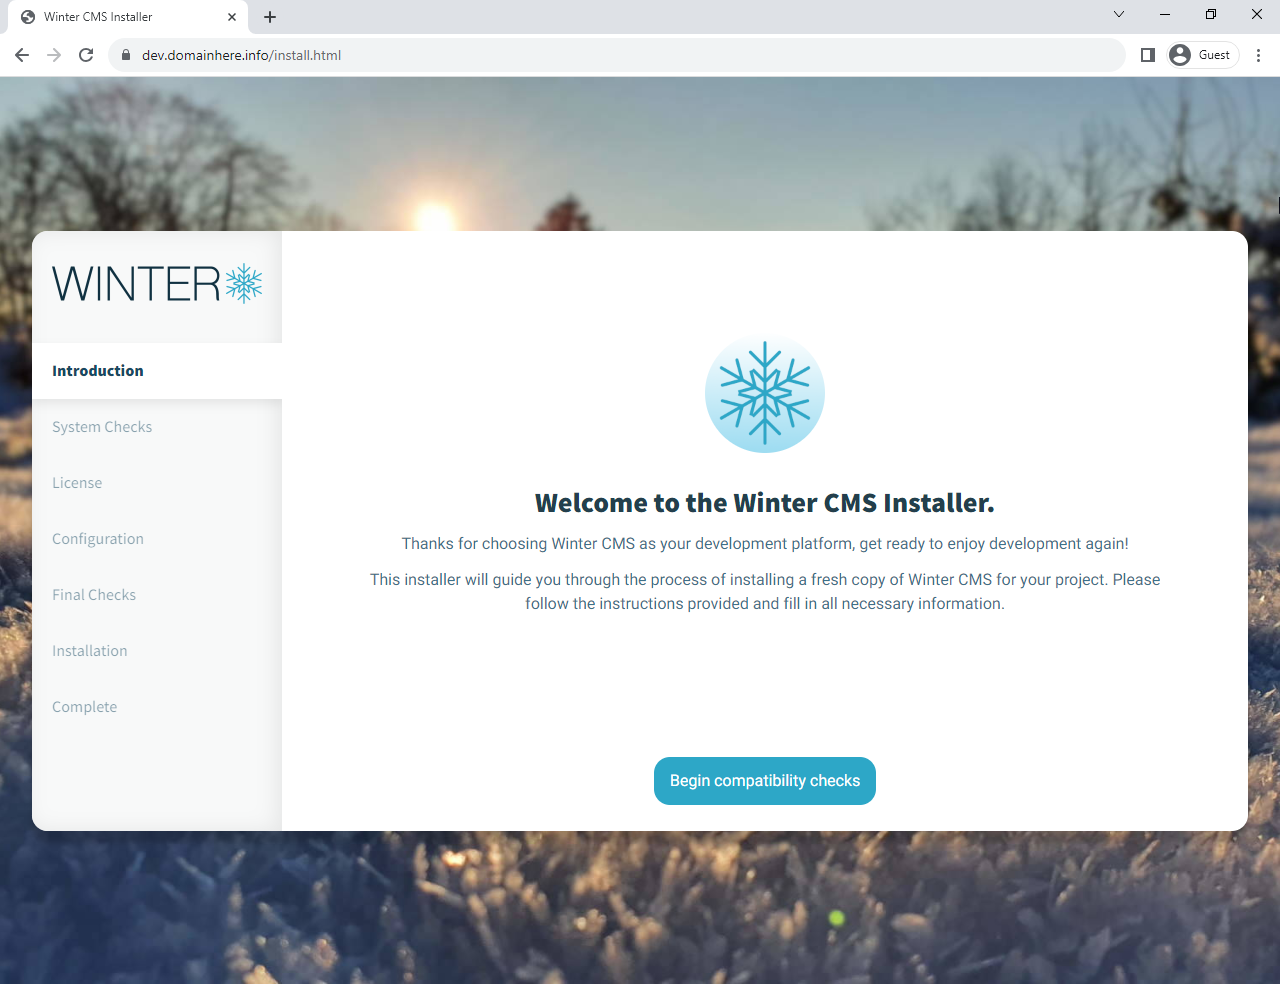
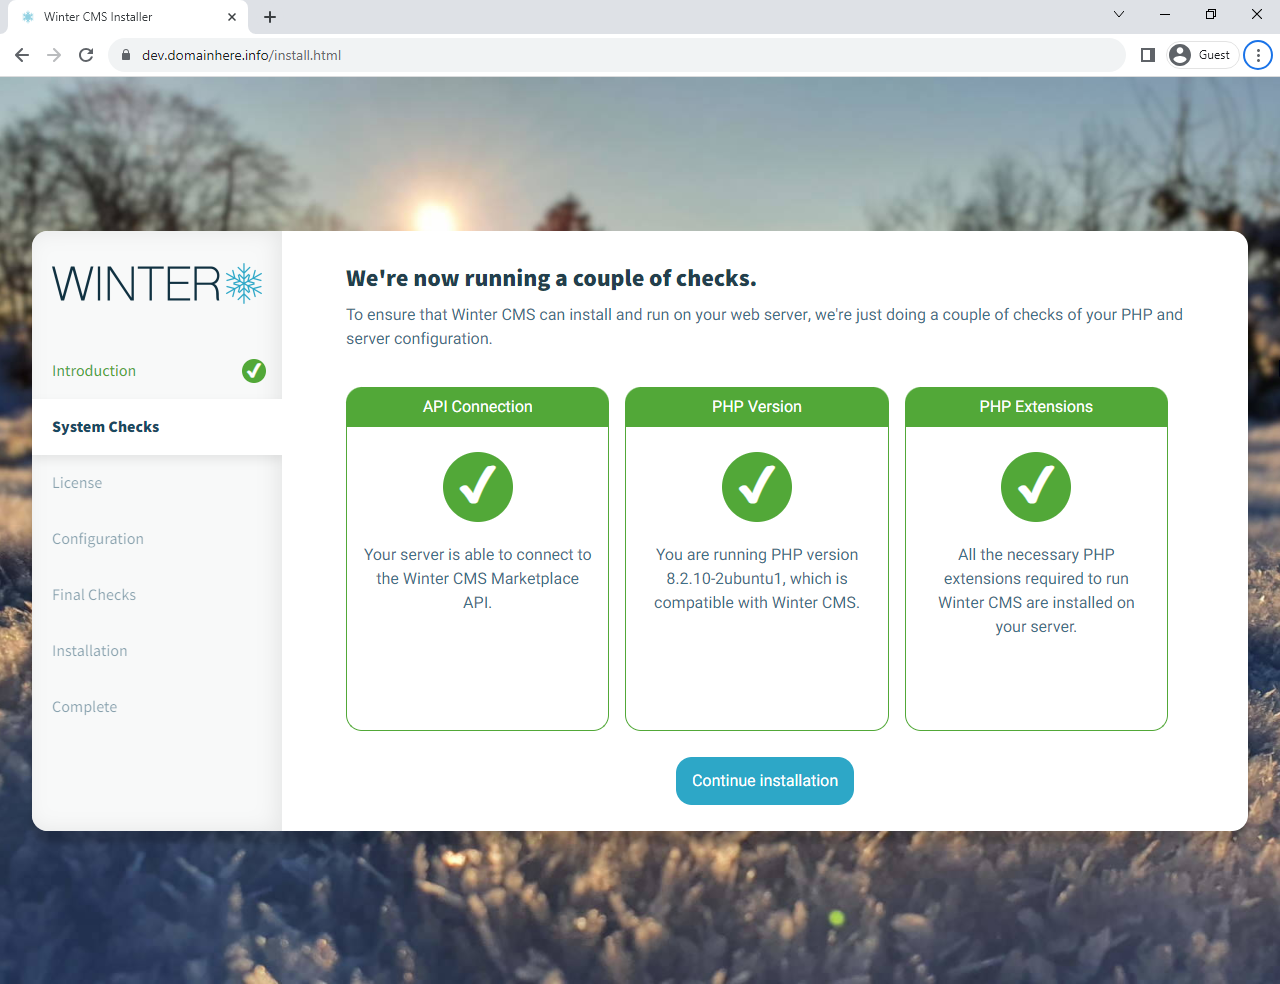
Check the installation compatibility for WinterCMS.
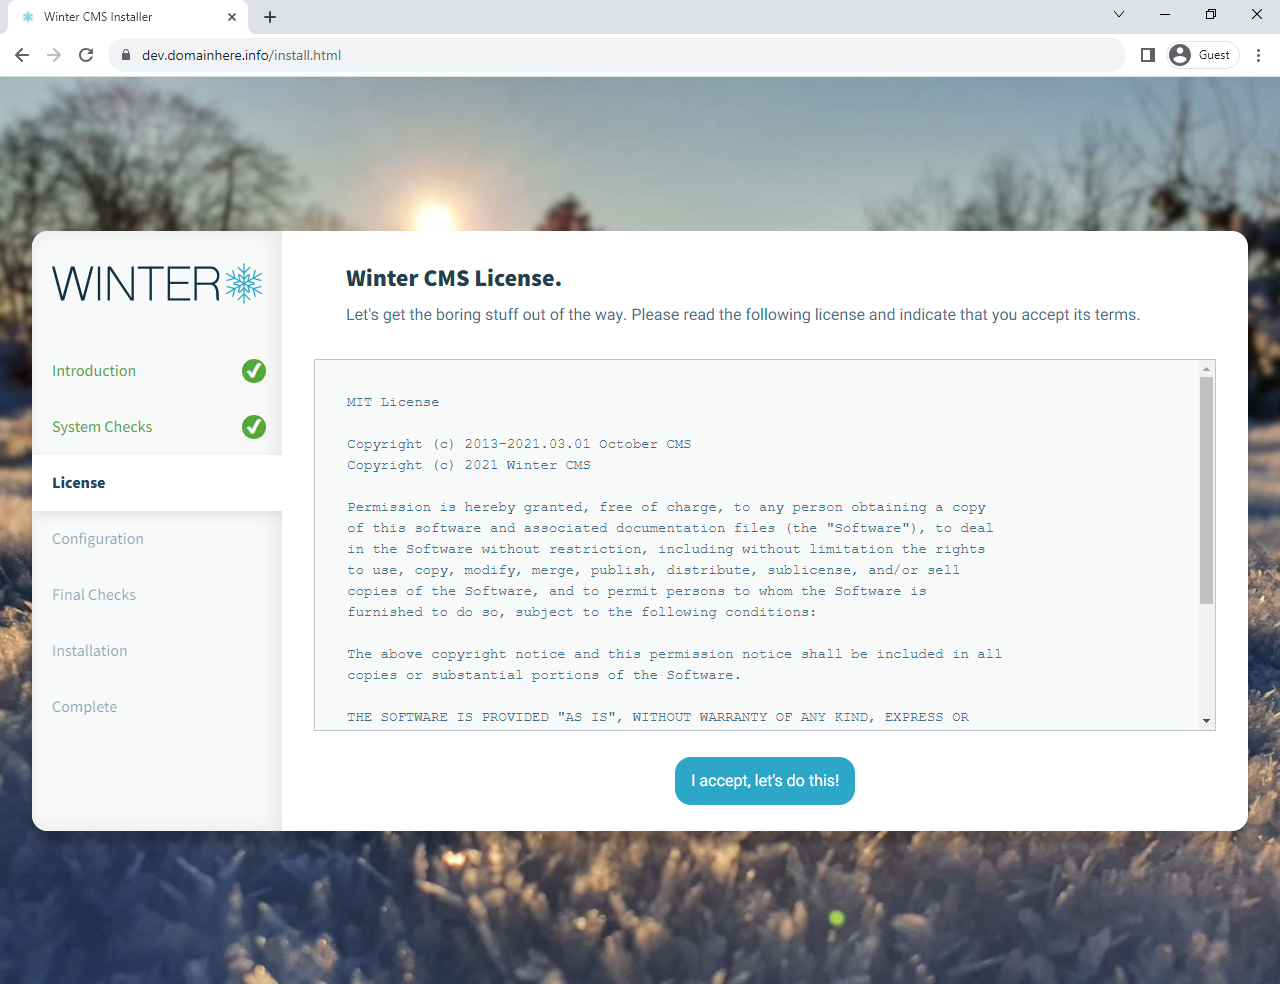
Accept WinterCMS's license.
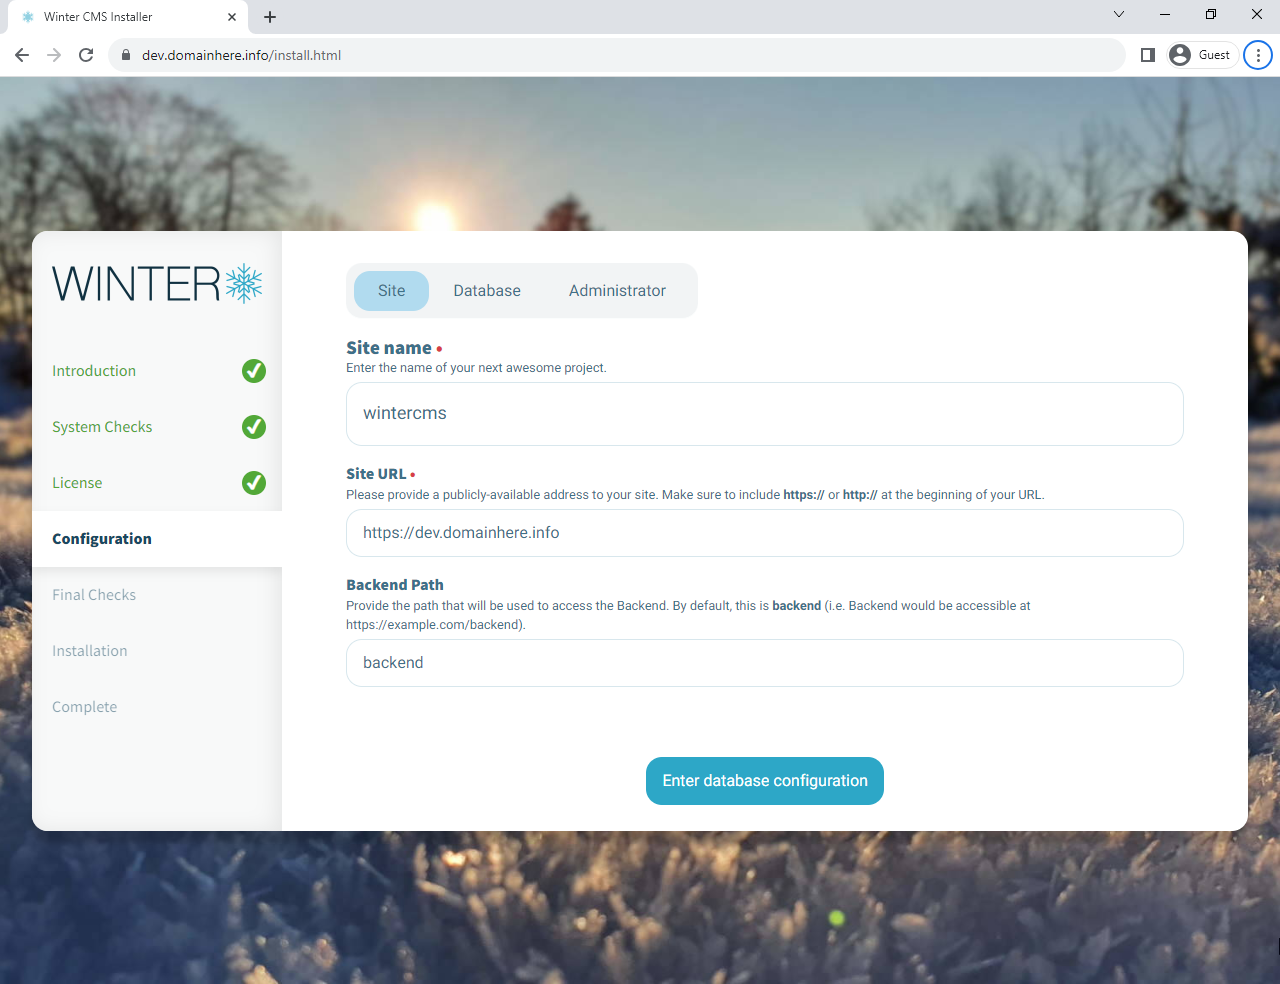
Enter the Website details like the Name of your site followed by the Site's URL and the login page for Administrator Dashboard.
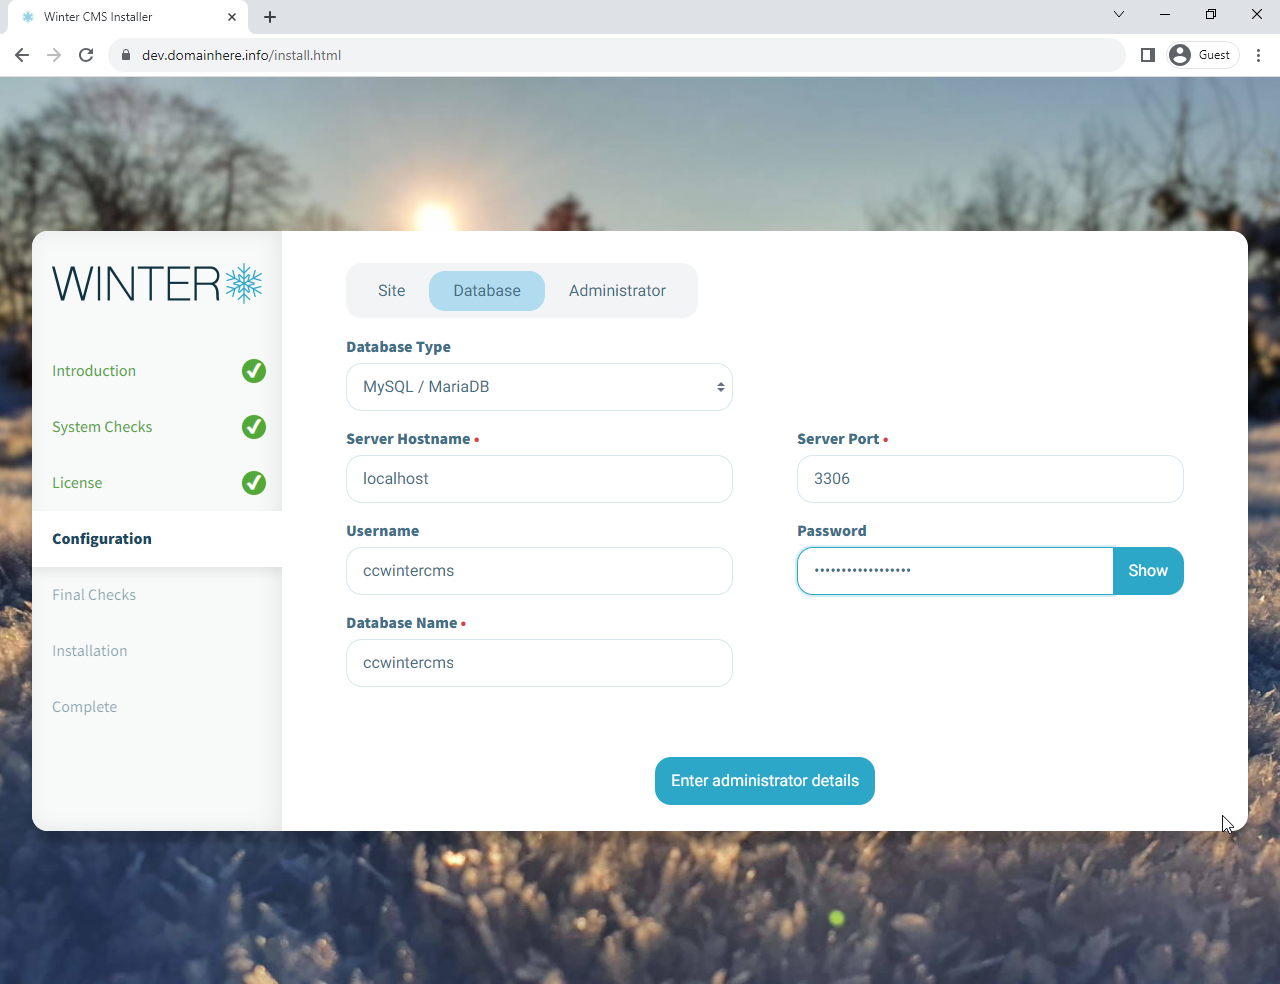
Input the Database details which was configured earlier,
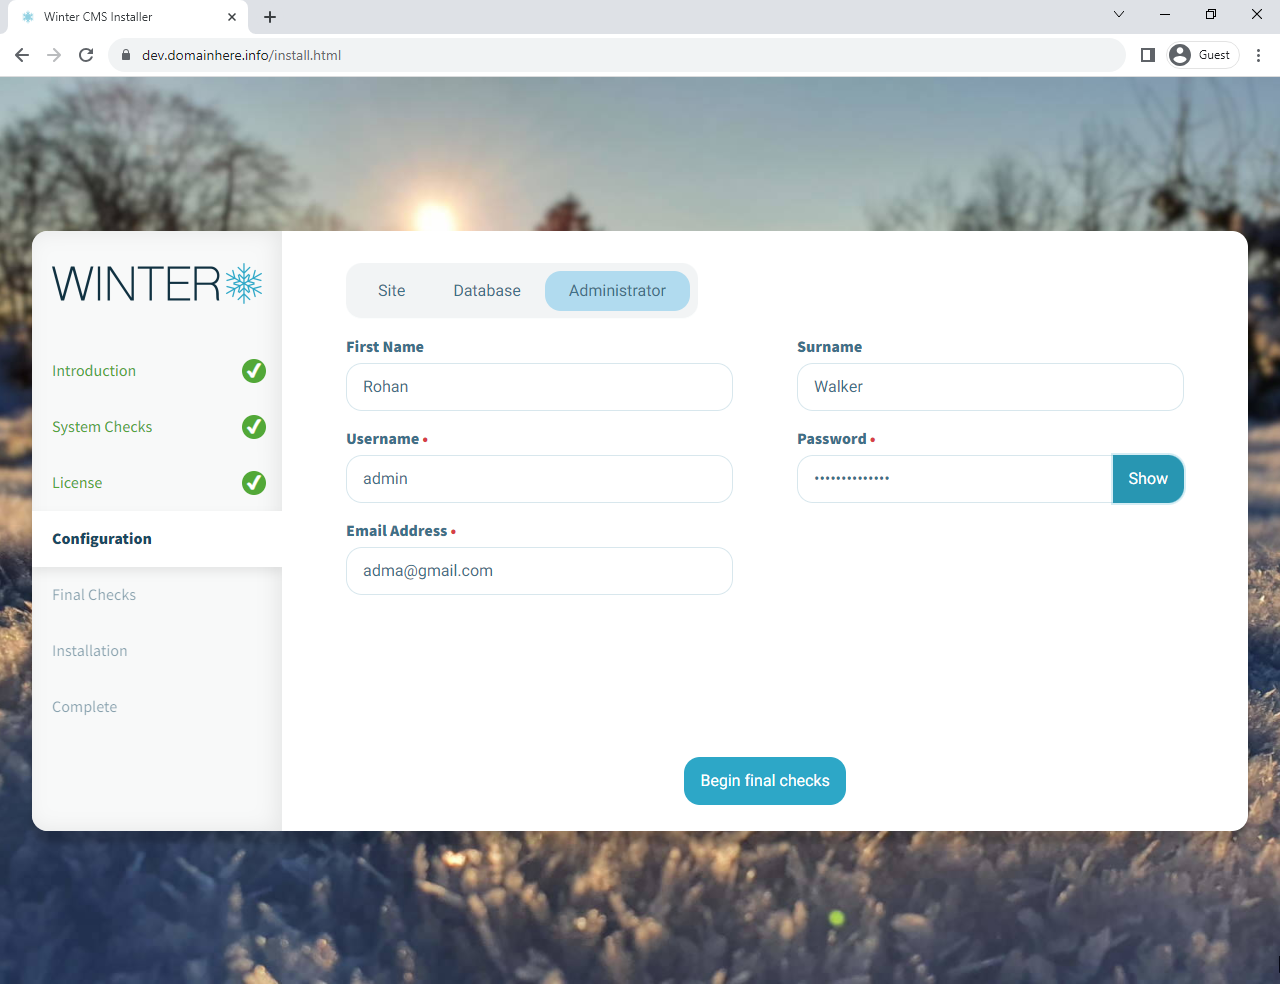
Create an Administrator account,
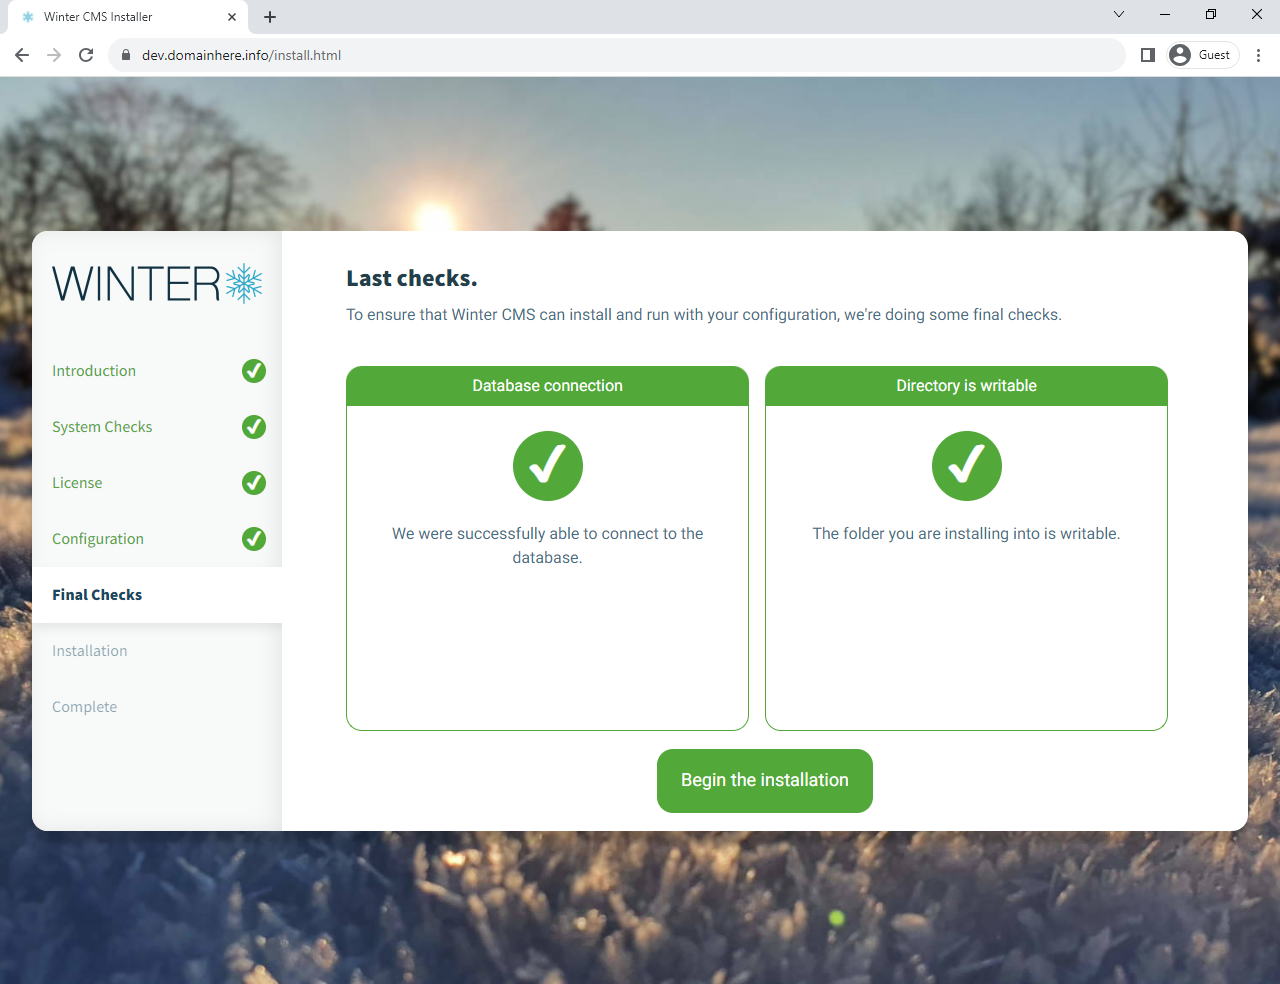
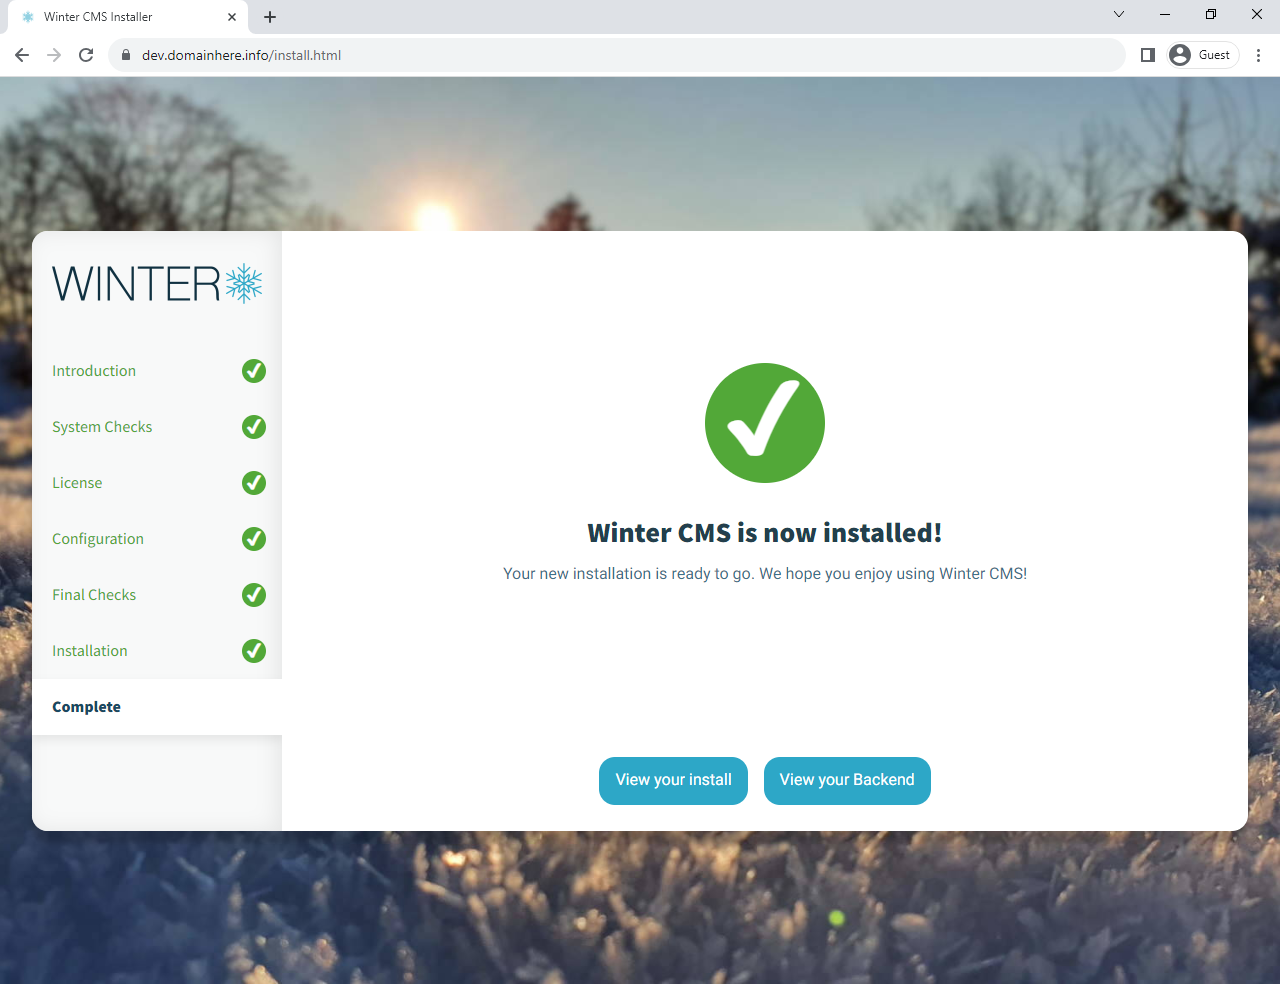
Once the "Last Checks" are complete without any issues, click on Begin the installation button to start the installation,
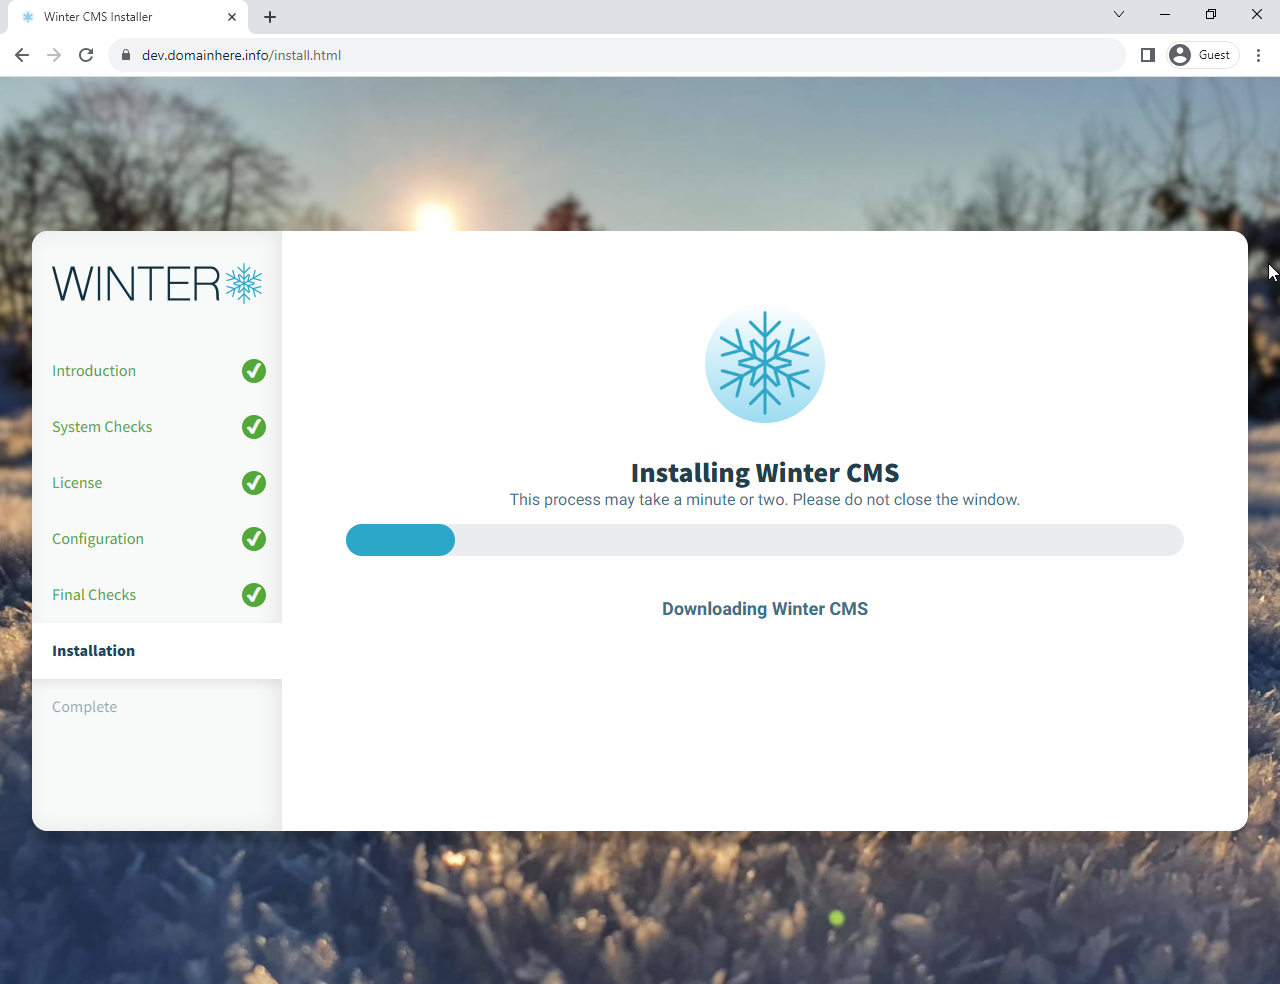
Once Winter CMS installation completes, click on the View your backend button to login as Admin,
Login with your Administrator account that was created earlier,
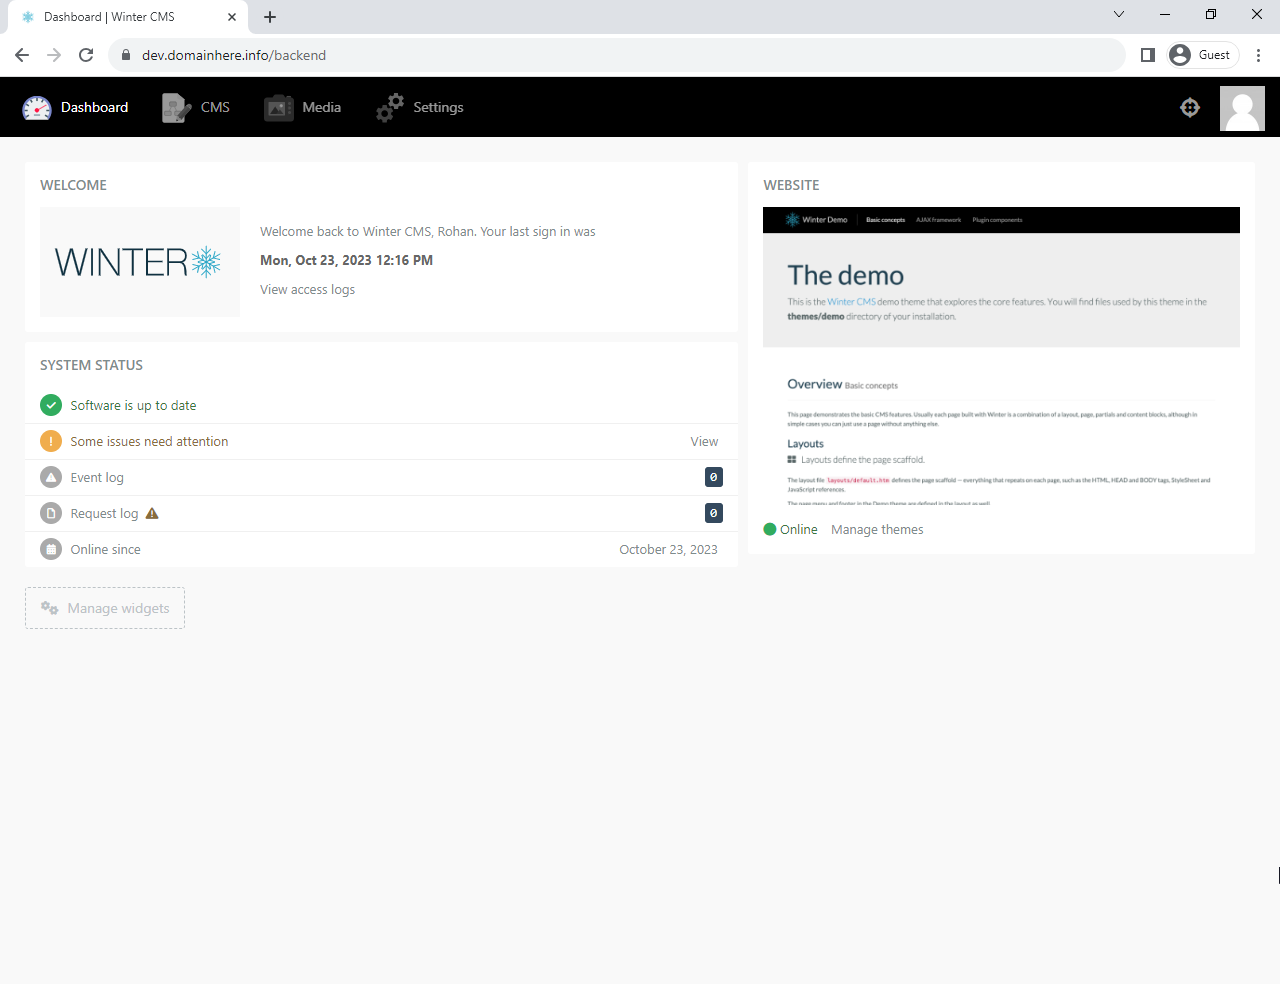
Now you have successfully installed Winter CMS with LAMP Stack on Ubuntu 23.10.
CrownCloud - Get a SSD powered KVM VPS at $4.5/month!
Use the code WELCOME for 10% off!
1 GB RAM / 25 GB SSD / 1 CPU Core / 1 TB Bandwidth per month
Available Locations: LAX | MIA | ATL | FRA | AMS